Tweaks descriptions
(This is list for legacy xVision versions 1.05-1.55.
Latest list for xVision 2.05 you can find here).
table of contents
- Fog & scattering (ATMOSPHERE)
- Sky saturation (ATMOSPHERE)
- Reduce fog glowing (ATMOSPHERE)
- Khaki correction (TERRAIN)
- Sunlight adjustments (LIGHTING)
- General glow of night textures (LIGHTING)
- Urban areas backlighting at night (LIGHTING)
- Sun/moon glares smoothing (LIGHTING)
- PBR effect adjustment (LIGHTING)
- Cloud puffs alpha-smoothing (CLOUDS)
- Clouds volumizer (CLOUDS)
- Clouds brightness, contrast, saturation (CLOUDS)
- Rayleigh scattering for clouds (CLOUDS)
- Clouds scaling (CLOUDS)
- Sun glitter adjustment (WATER)
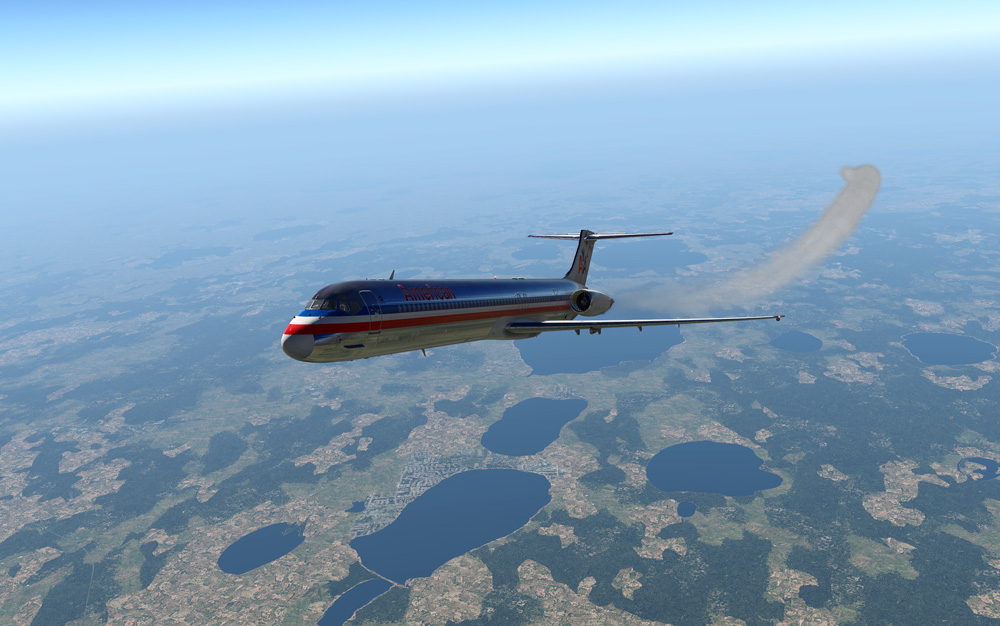
- Contrail fix (MISCELLANEOUS)
- Raindrops rendering (MISCELLANEOUS)
- Contrail fix (MISCELLANEOUS) - X-Plane 11.21-11.26 ONLY
- Contrail adjustment (MISCELLANEOUS)
- Global stage post-processing (POST-PROCESSING)
- DPX
- SoftBloom
- Technicolor2
- Sepia
- Curves
- Levels
- LiftGammaGain
- Technicolor
- Vibrance
- Tonemap
- BrightnessContrastSaturation
- SharpenBlurring
- Internal (VC) stage post-processing (POST-PROCESSING)
- Technicolor2
- DPX
- Sepia
- Levels
- LiftGammaGain
- Technicolor
- Vibrance
- Tonemap
- BrightnessContrastSaturation
- FXAA tuning (POST-PROCESSING)
ATMOSPHERE TWEAKS
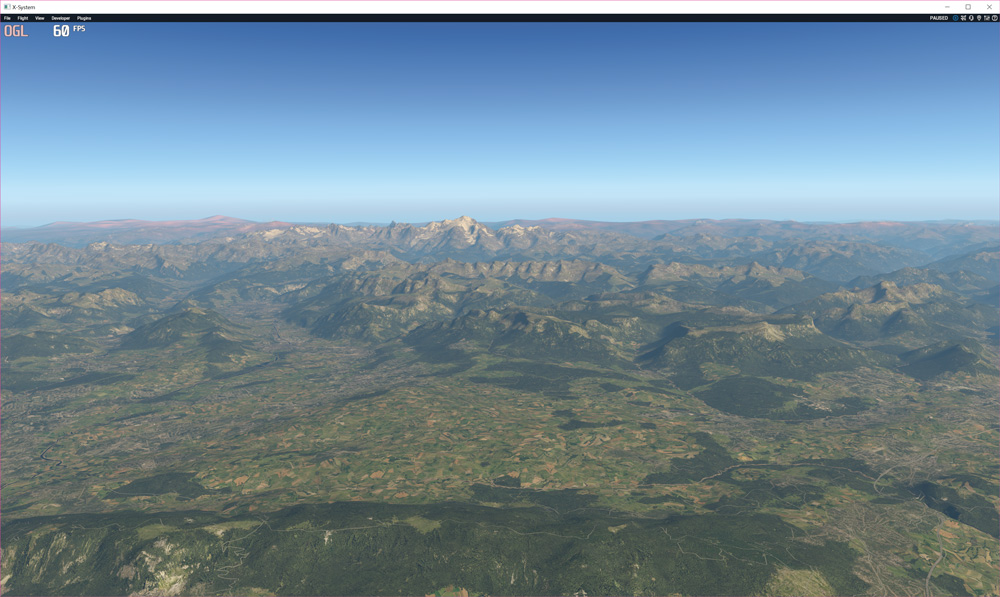
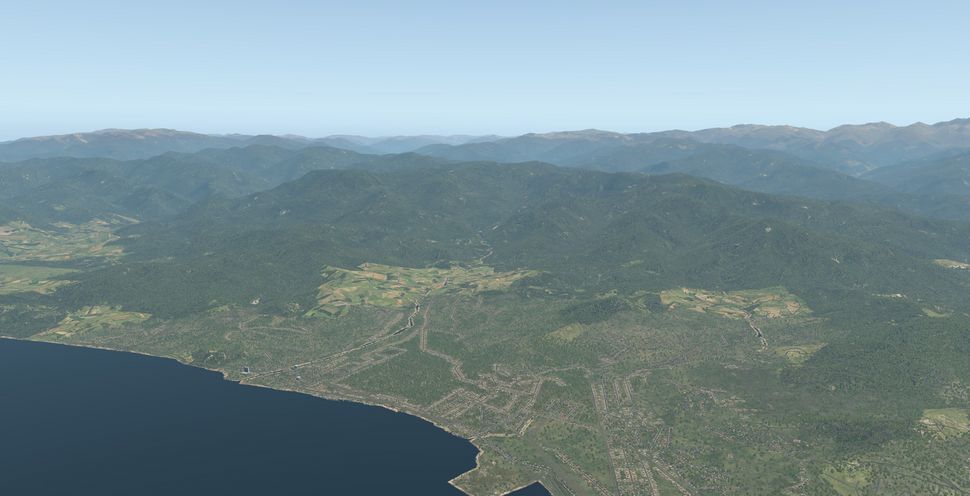
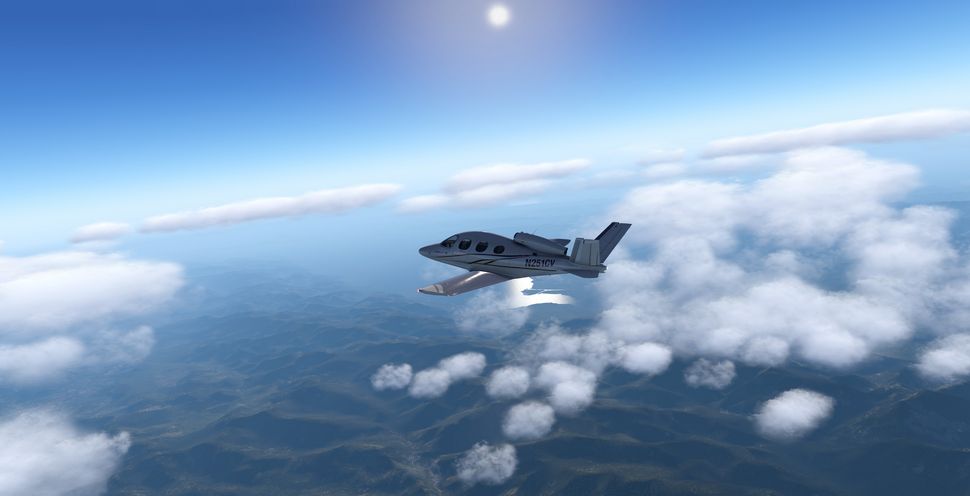
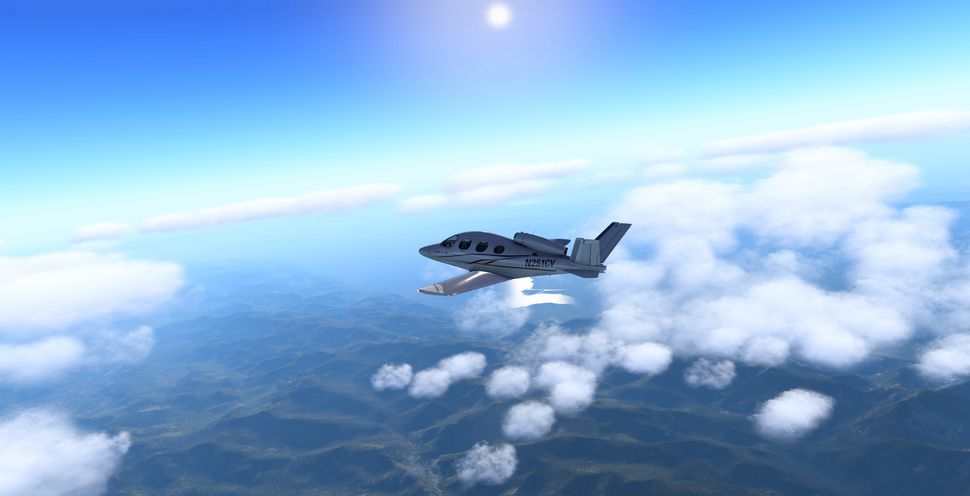
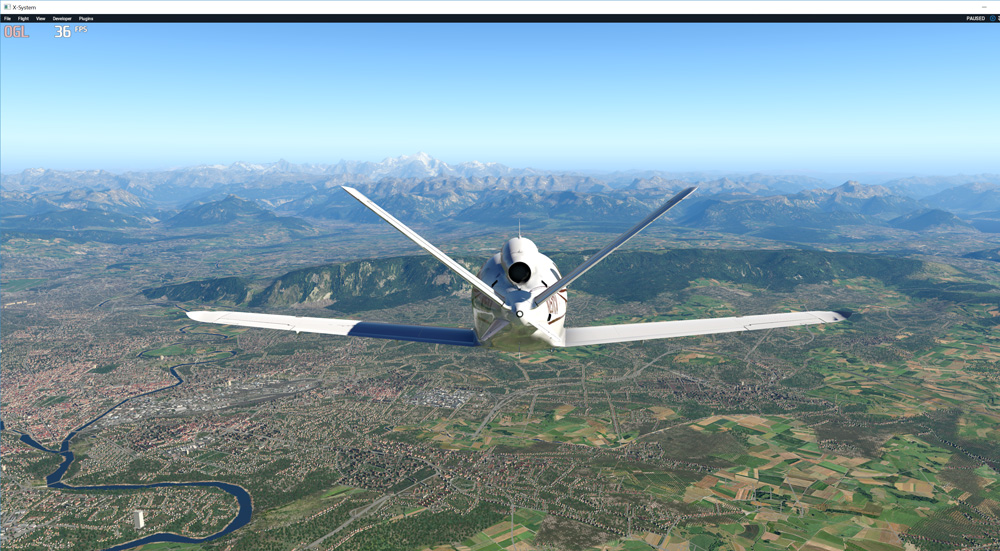
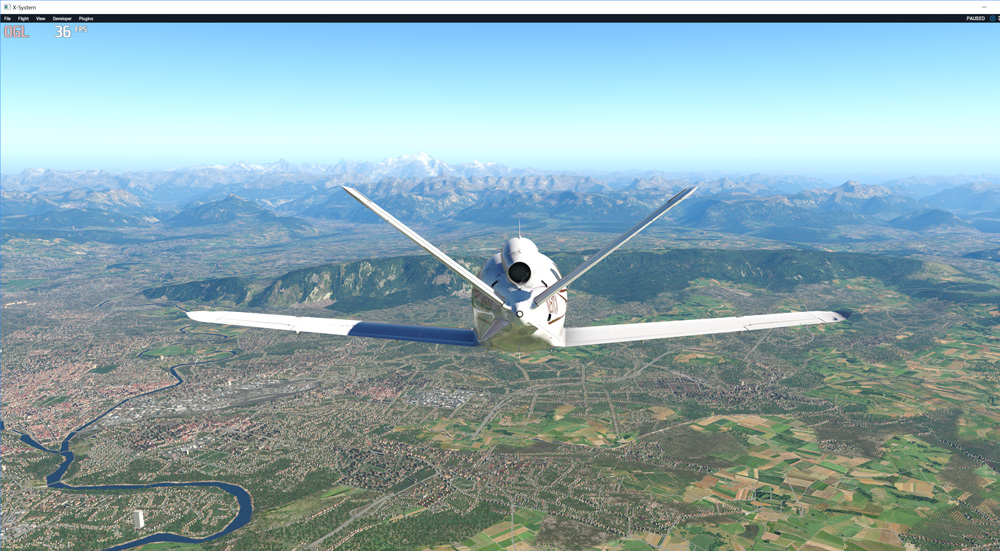
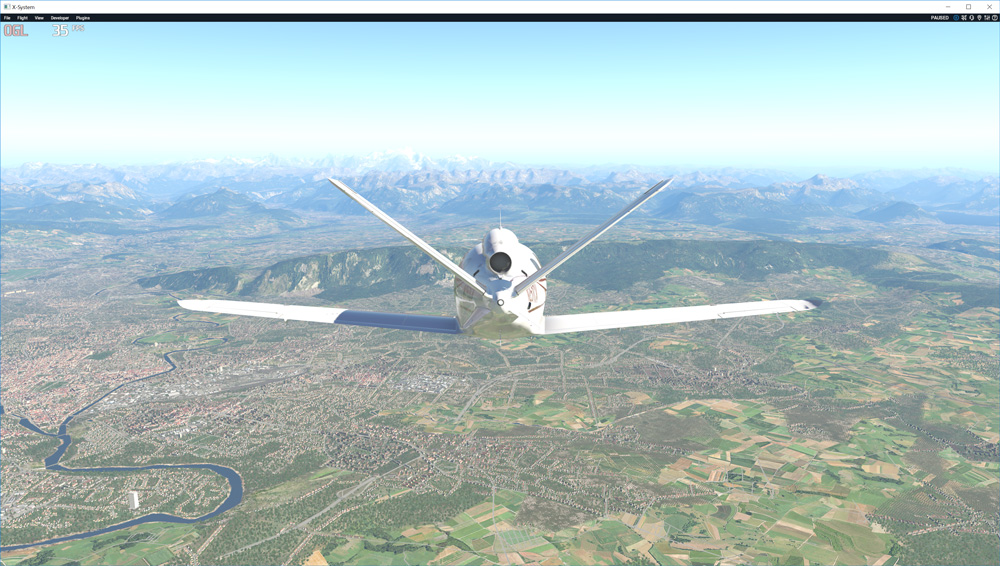
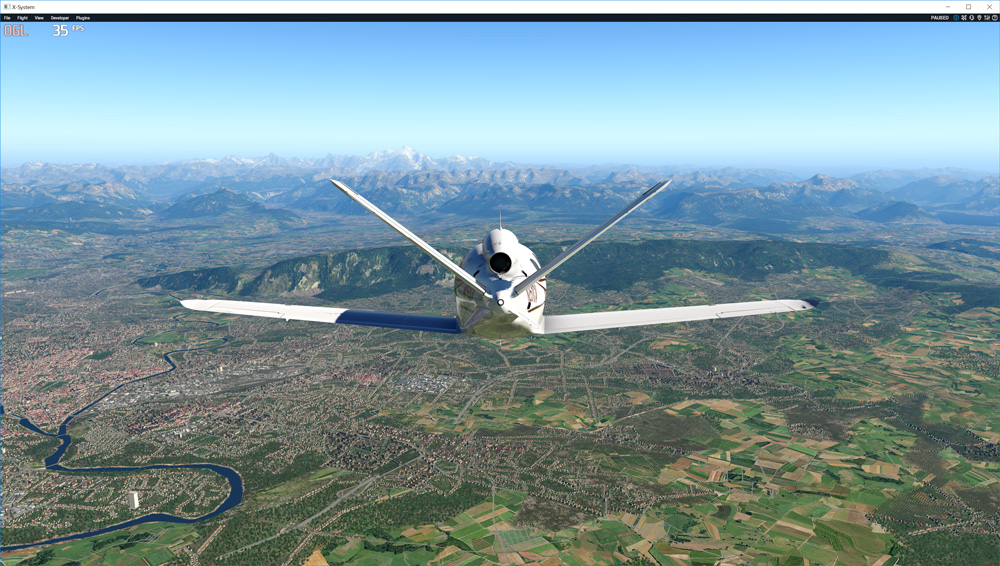
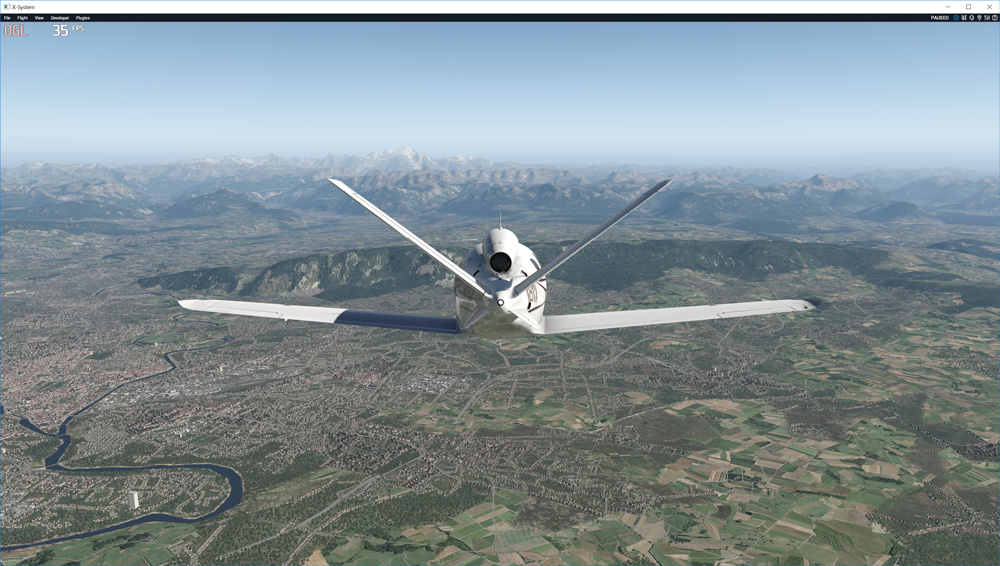
Fog & scattering
Alternate fog and Rayleigh scattering rendering.
For color tone adjustment SLIGHTLY change Green and Blue coefficients.
Parameter(s):
- Effect power: Higher power value = strong effect. Range: [1.00 .. 7.00]. Default: 2.50
- Density factor: Density factor allows to control the "density" of the effect. Higher factor value = strong effect. Range: [0.00001 .. 0.00099]. Default: 0.00010
- Color tone [Green]: Scattering efficiency of green light component. Range: [0.01 .. 0.99]. Default: 0.10
- Color tone [Blue]: Scattering efficiency of blue light component. Range: [0.01 .. 0.99]. Default: 0.30
- Outscattering amendment: Adjustable value to control yellow(red) tint due to out-scattering. Range: [0.1 .. 3.0]. Default: 1.0
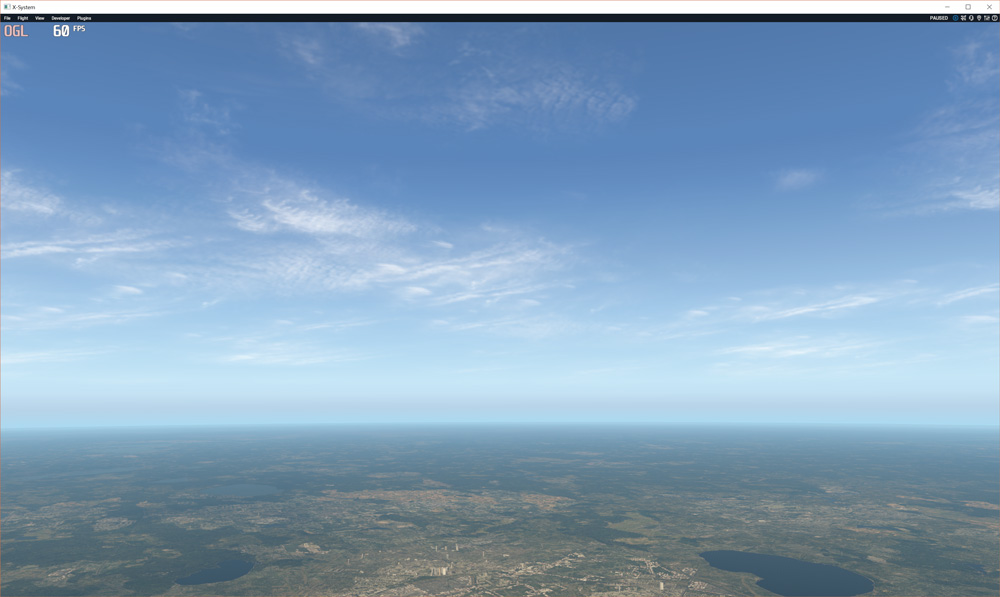
Effect power: 2.50, Density factor: 0.00010; Color tone [Green]: 0.10, Color tone [Blue]: 0.30, Outscattering amendment: 1.0. ("Before" state is default X-Plane shaders.)
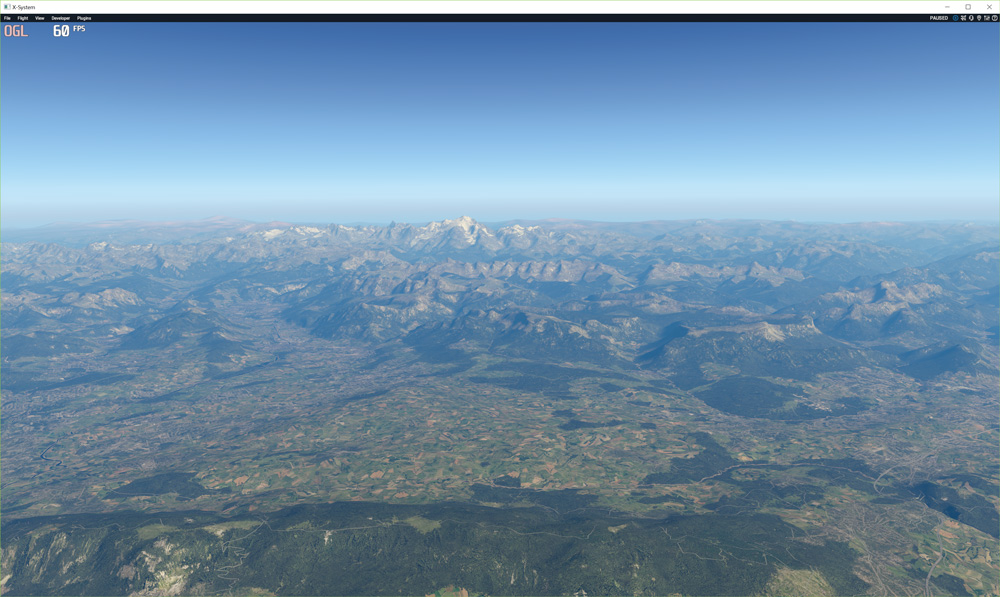
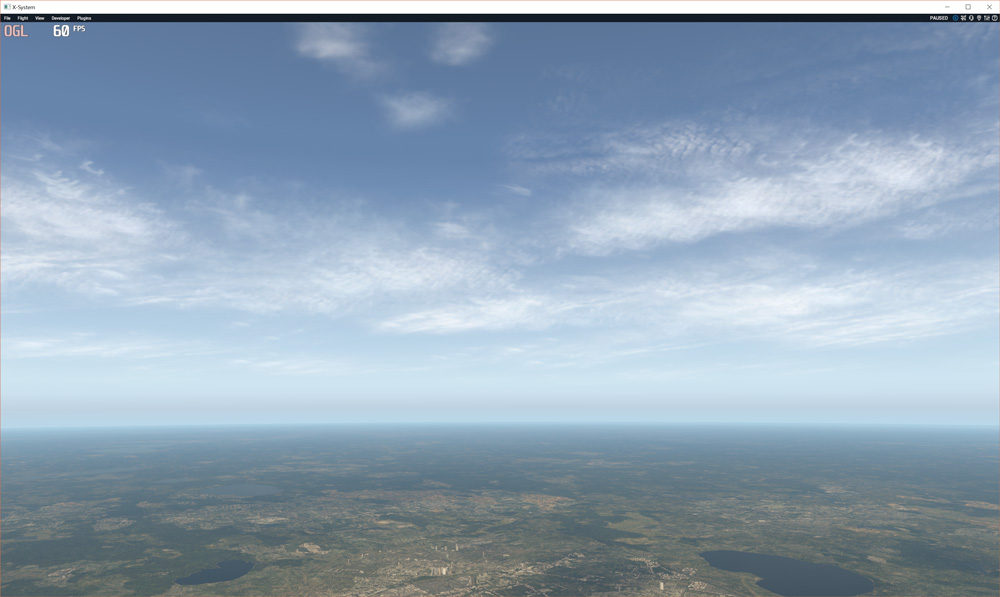
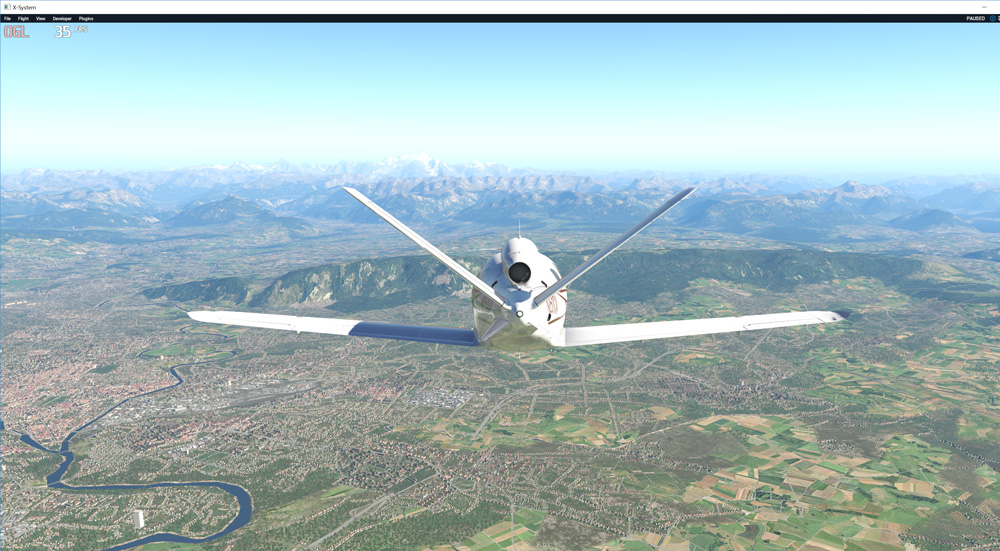
Example 2: Same parameter values, but change Color tone [Green] to 0.20

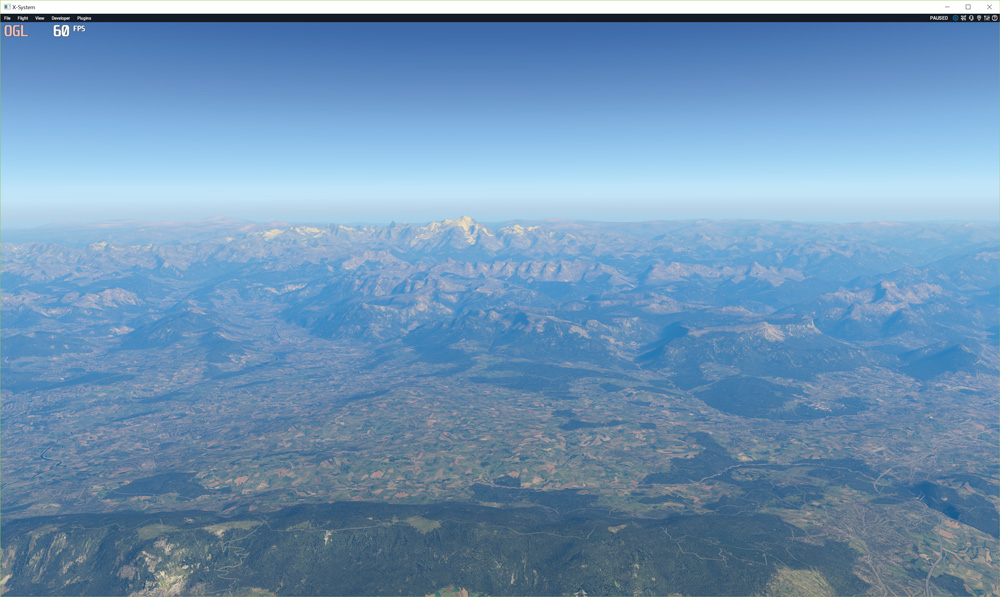
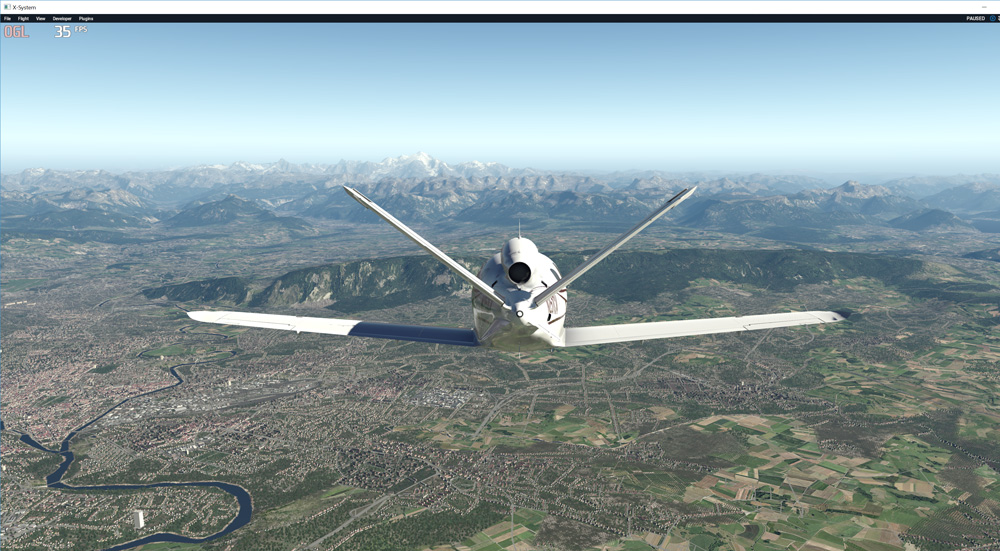
Example 3: Effect power changed to 4.50
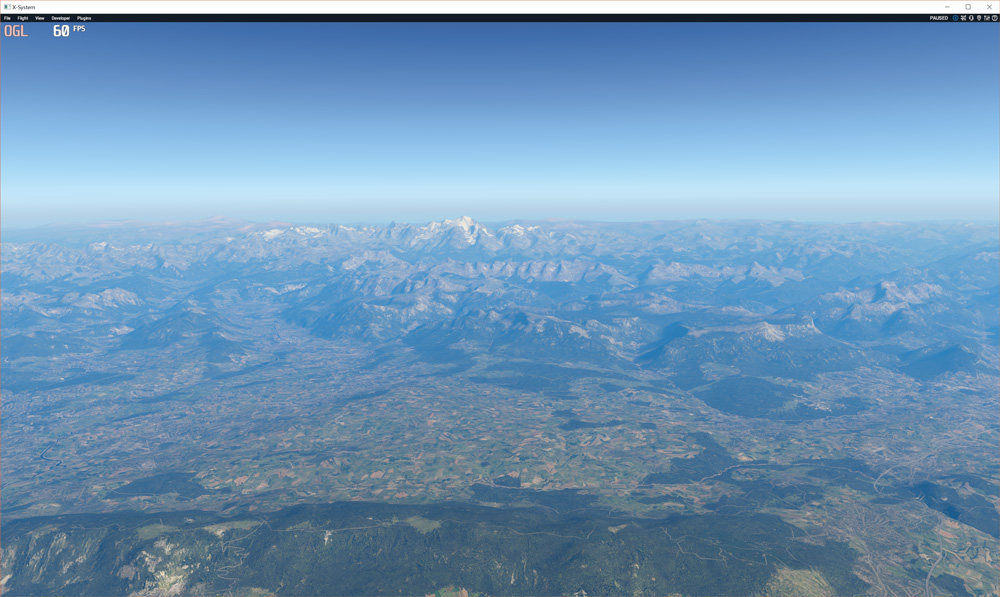
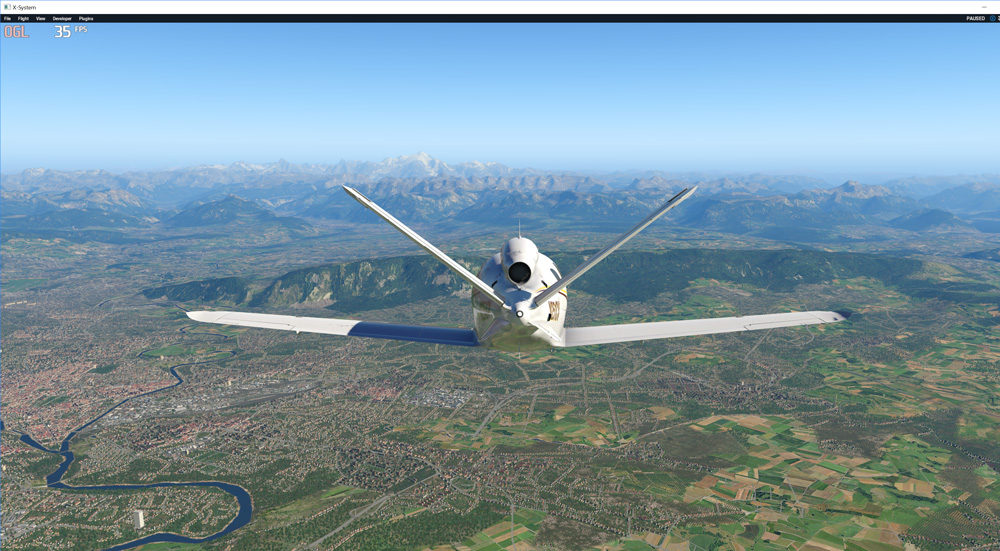
Example 4: Effect power changed to 4.50 and Outscattering amendment - to 0.6:
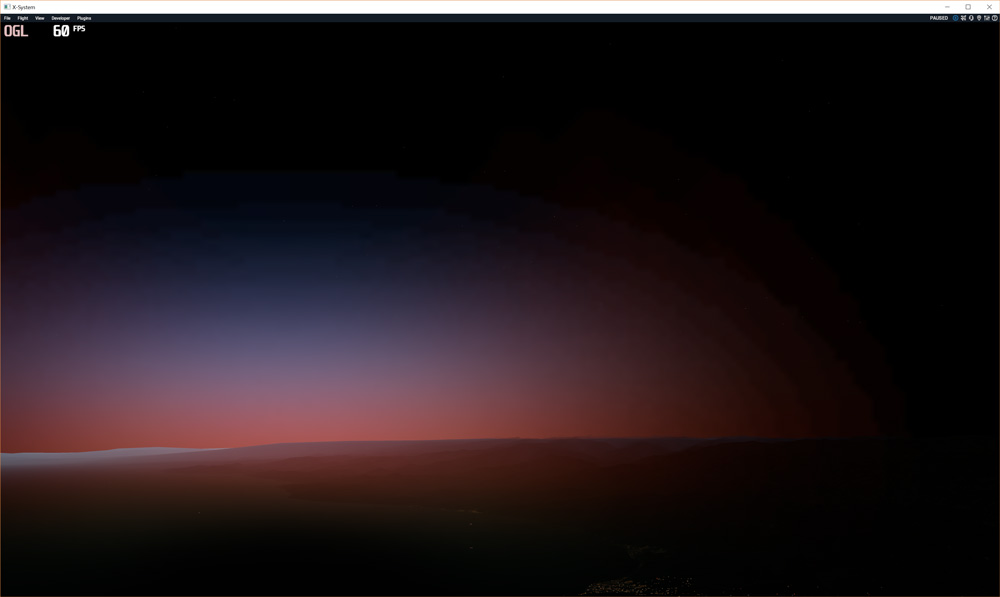
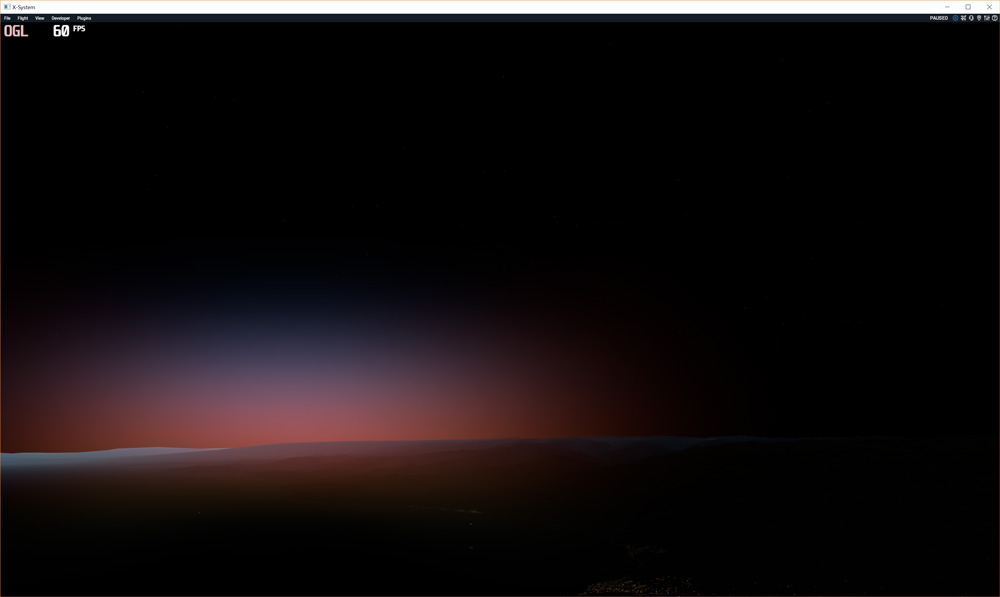
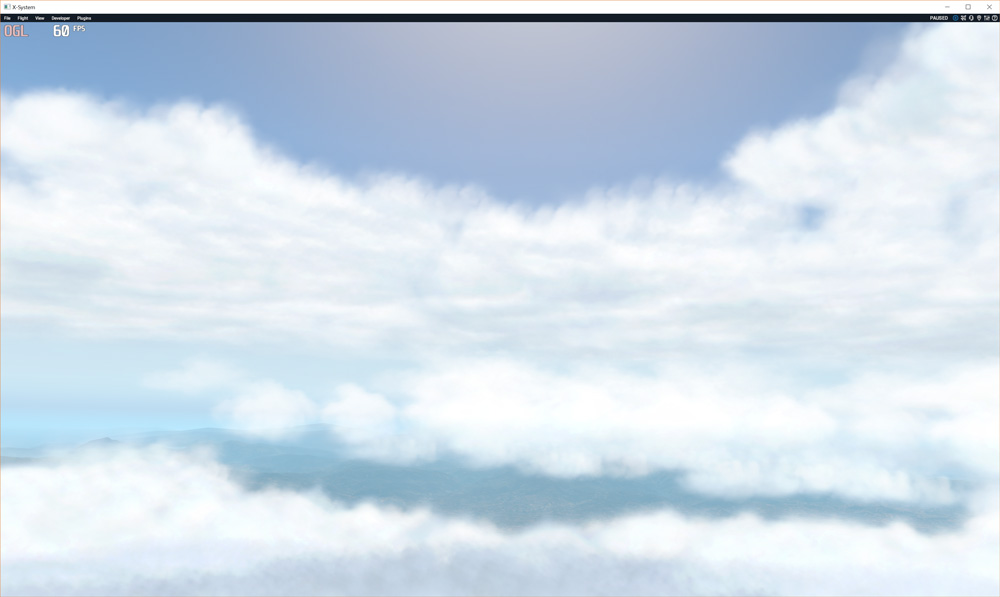
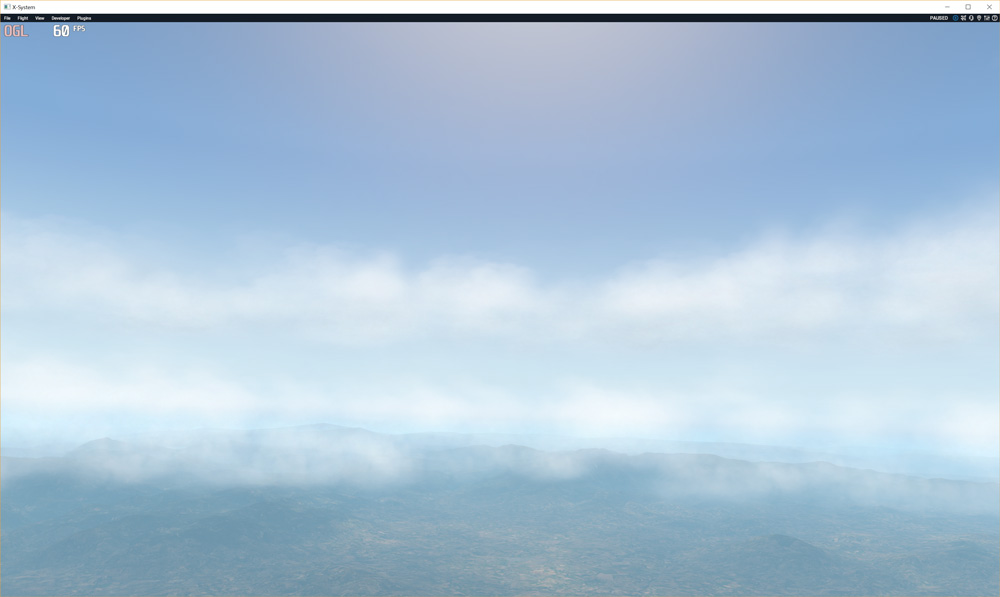
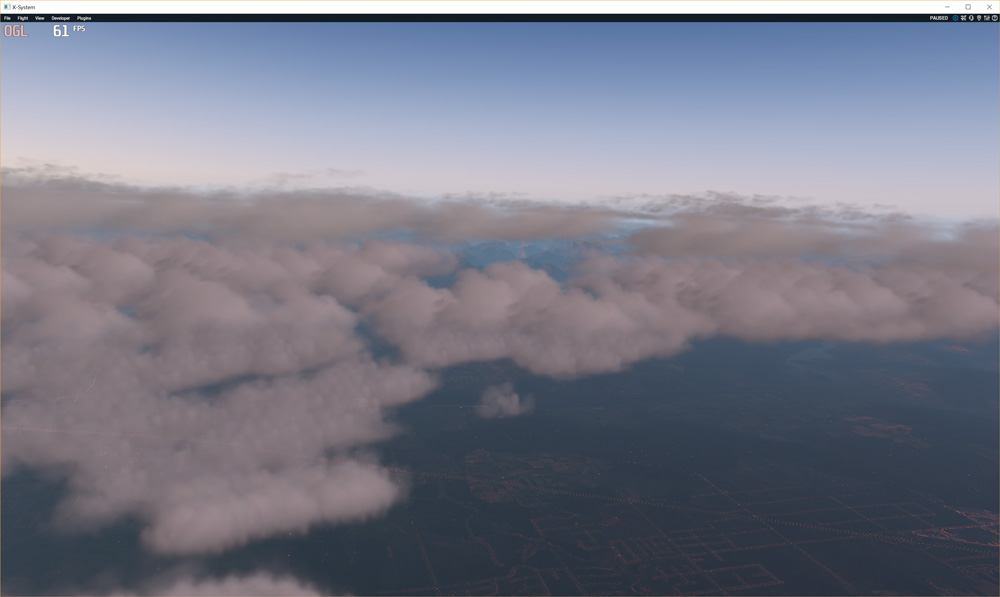
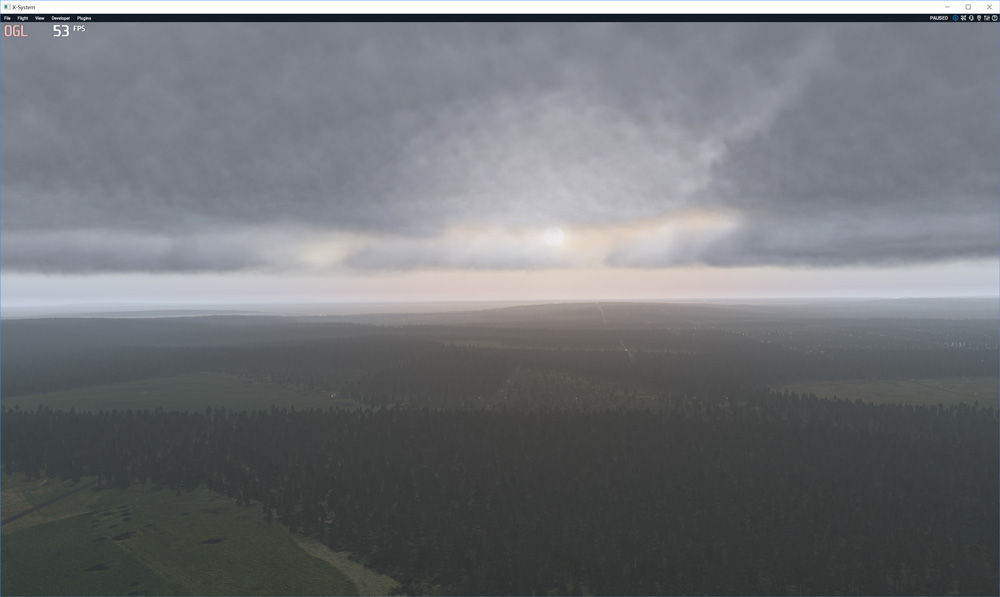
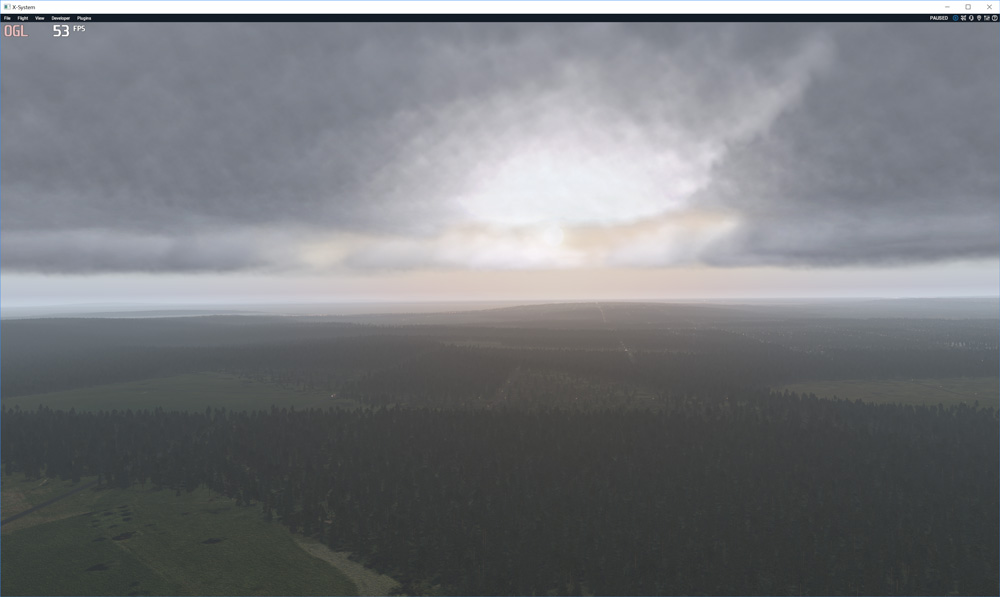
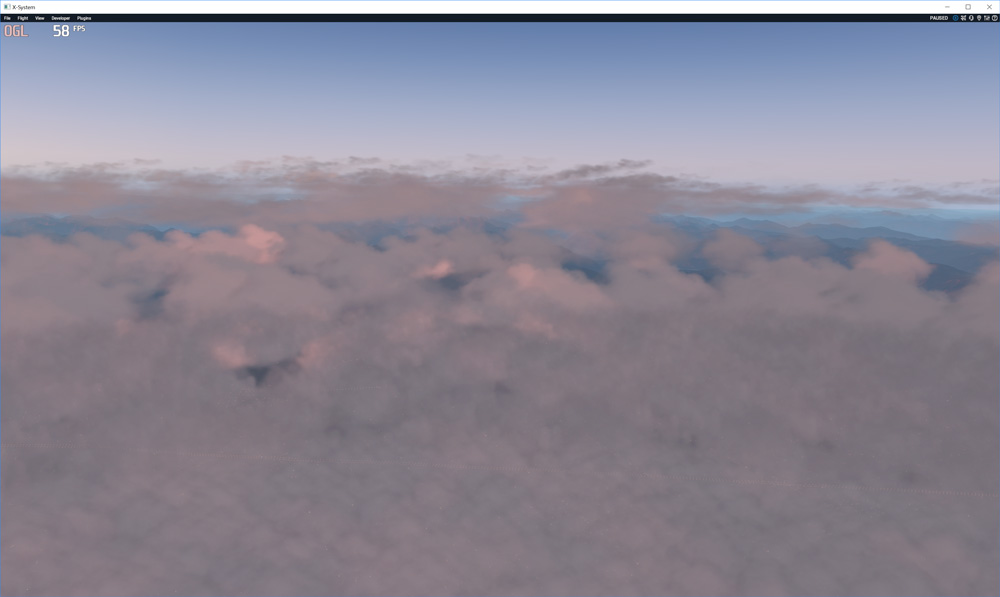
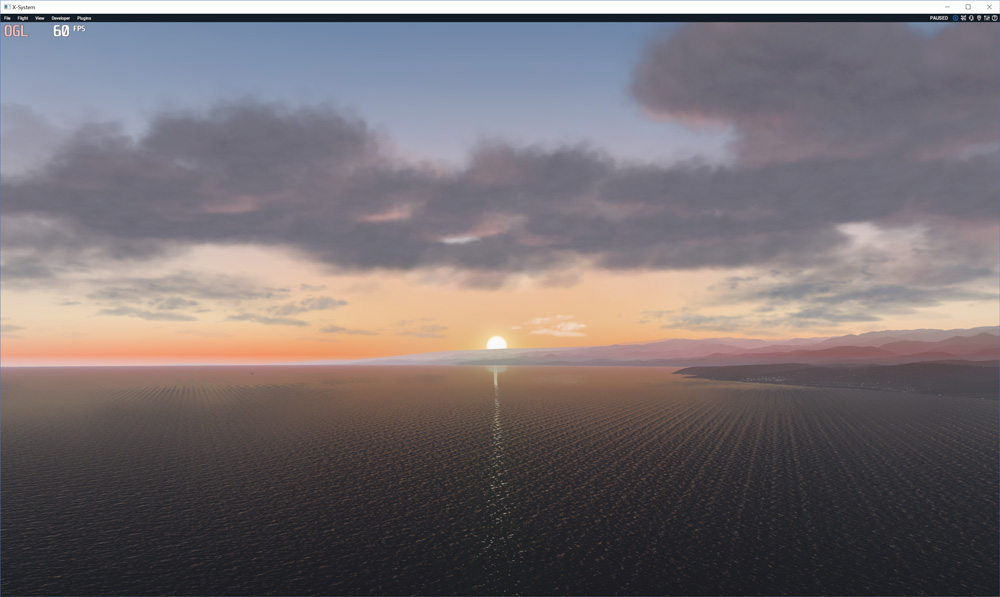
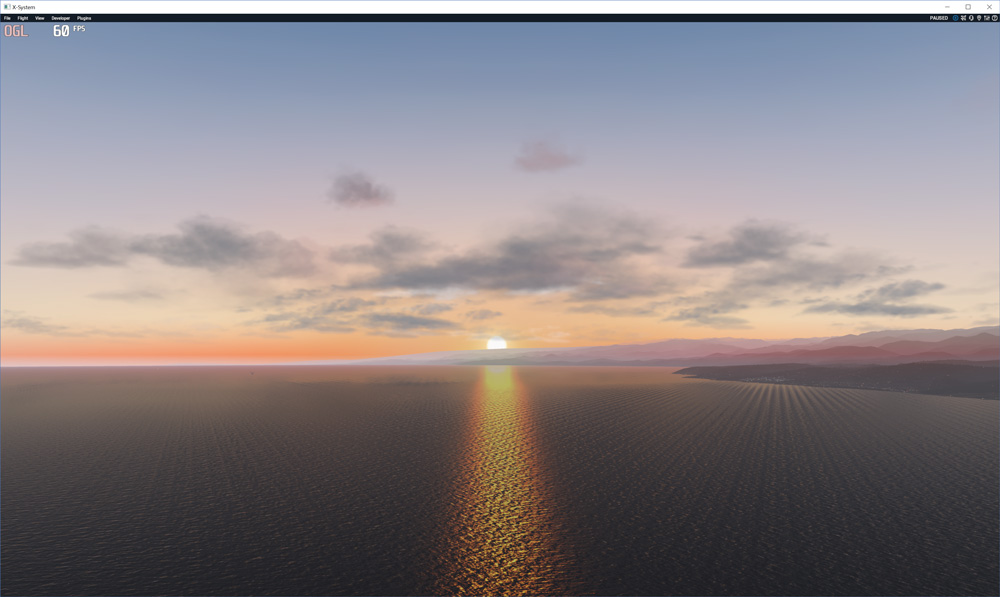
Reduce fog glowing
Tweak allows to reduce fog glowing effect at high altitudes during twilight.
Note: high values for Twilight level parameter may affect sky rendering during the day.
Different sky textures may require different settings.
Parameter(s):
- Twilight level: Twilight level at which the reducing starts. 0.00 is for night. Range: [0.01 .. 1.00]. Default: 0.20
- Reduction efficiency: The efficiency of glow reducing . 1.00 = max. effect Range: [0.1 .. 1.0]. Default: 0.2
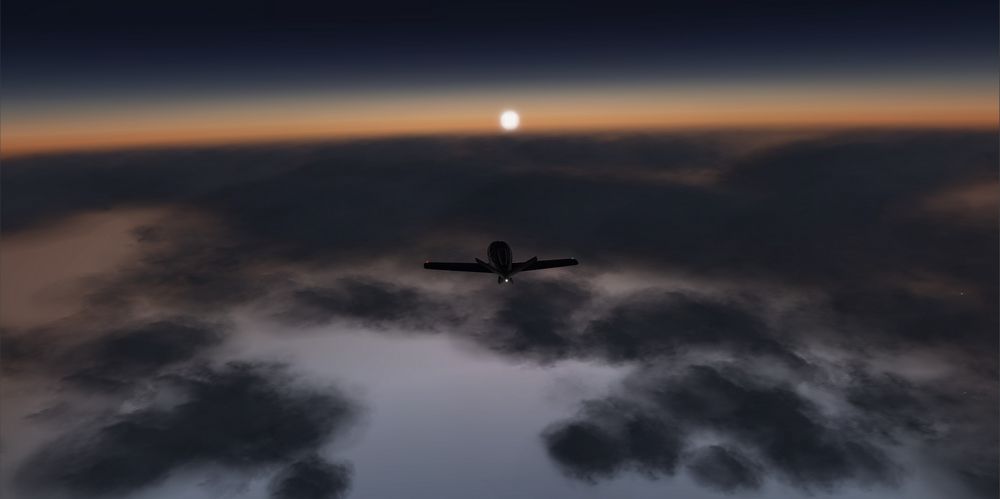
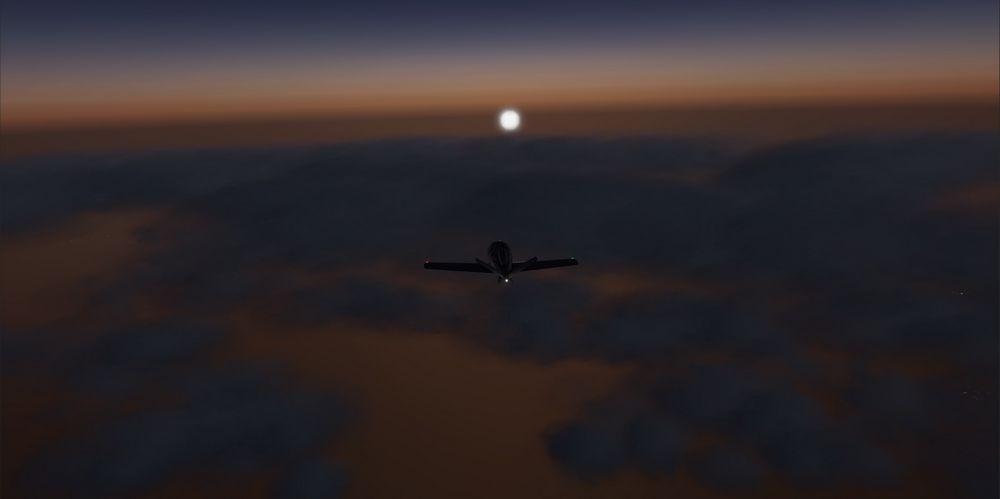
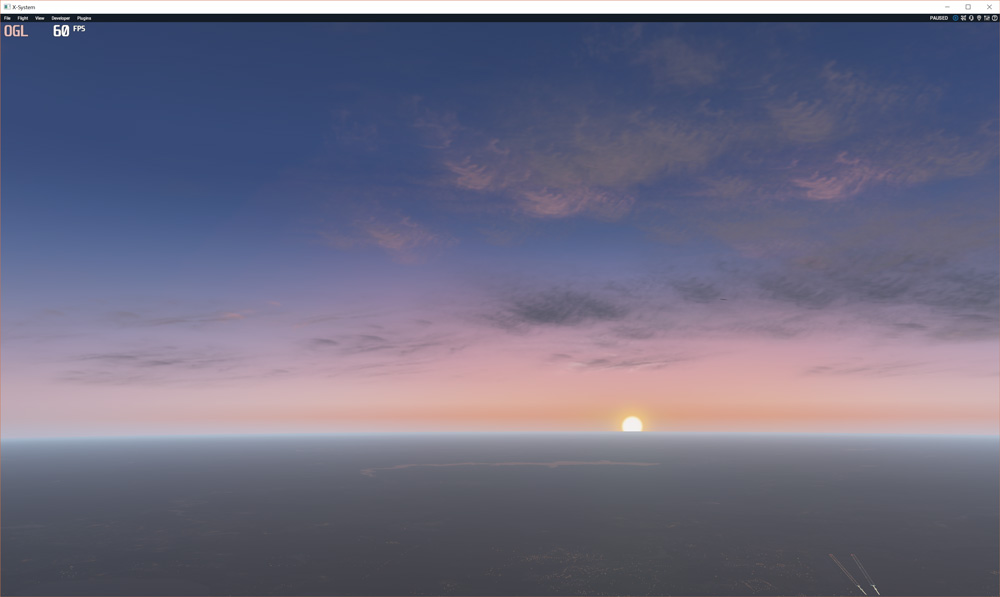
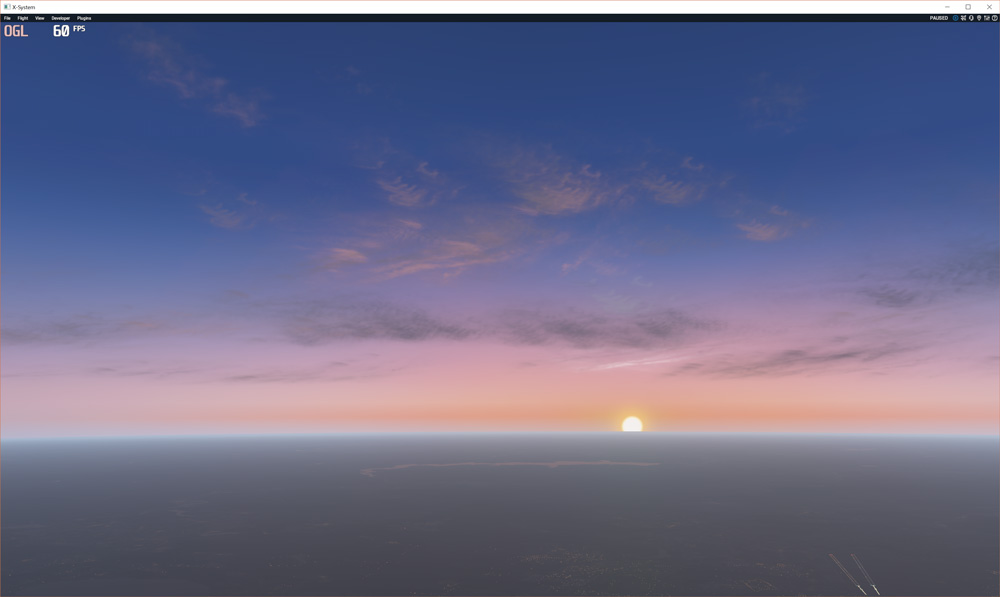
Example 2: Altitude 45000ft, later. Left: Twilight level=0.20; Reduction efficiency=0.2, right: Twilight level=0.30; Reduction efficiency=0.2
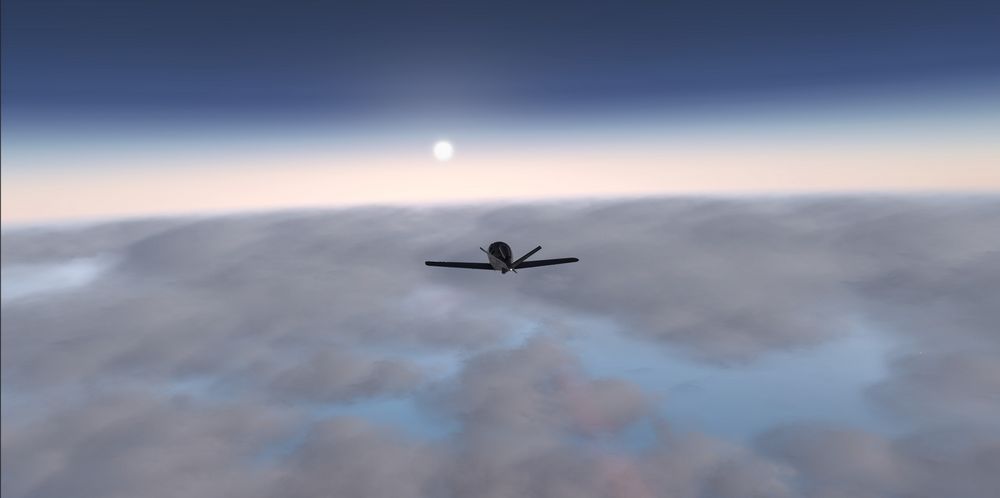
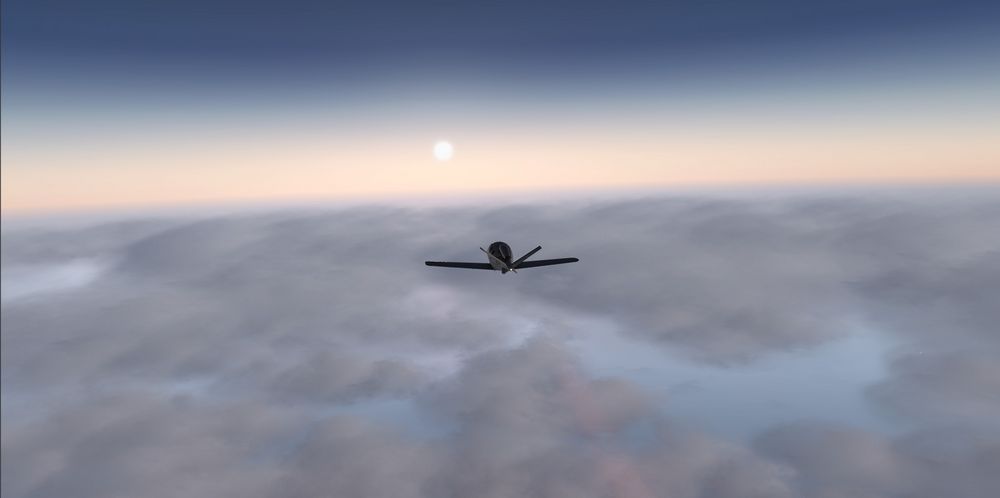
Sky saturation
Saturation allows to adjust the intensity of sky color.
Parameter(s):
- Saturation: When the saturation is 0.0, what you will see is a shade of gray. Range: [0.0 .. 2.0]. Default: 1.0
Example 2: tweak applied with saturation parameter: 1.3
TERRAIN TWEAKS
Khaki correction
If you think the terrain should be more green and less khaki, try this tweak.
Filter will keep green as green and gray as gray, but khaki tone will be changed.
Parameter(s) (only for X-Plane 11.30+):
- Intensity: Larger values mean stronger correction effect. Range: [0.1 .. 0.9]. Default: 0.3

LIGHTING TWEAKS
Sunlight adjustments
Tweak adjusts the influence of sunlight on all objects excluding clouds.
Use it to obtain the necessary scene contrast and change the shade of direct sunlight.
There are two main components: diffuse and direct light.
Diffuse component affects the light intense of shadowed parts; Direct component affects bright areas.
These adjustments do not affect clouds lighting
Parameter(s):
- Diffuse light power: Higher power value means more diffuse light. Range: [0.1 .. 5.0]. Default: 1.0
- Direct sunlight power: Higher power value means more direct light. Range: [0.1 .. 20.0]. Default: 5.5
- Direct sunlight saturation: This parameter affects on direct sunlight tint. Increasing this value will give a more intense shade of direct sunlight. Range: [0.1 .. 3.0]. Default: 1.0

Example 2: Diffuse light power = 0.5, Direct sunlight power = 10.0:
Example 3: Direct sunlight saturation boosted to 1.5:
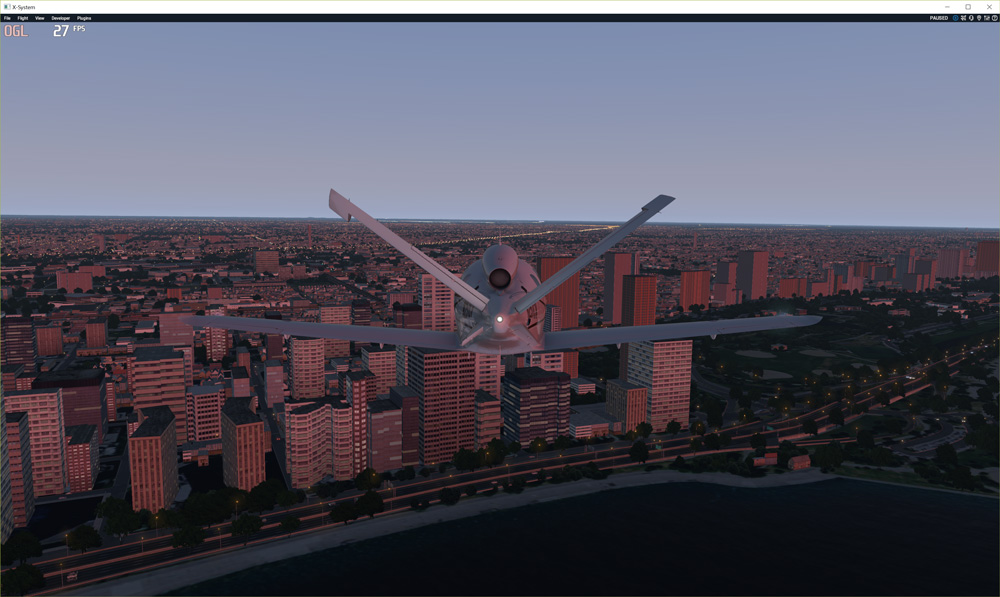
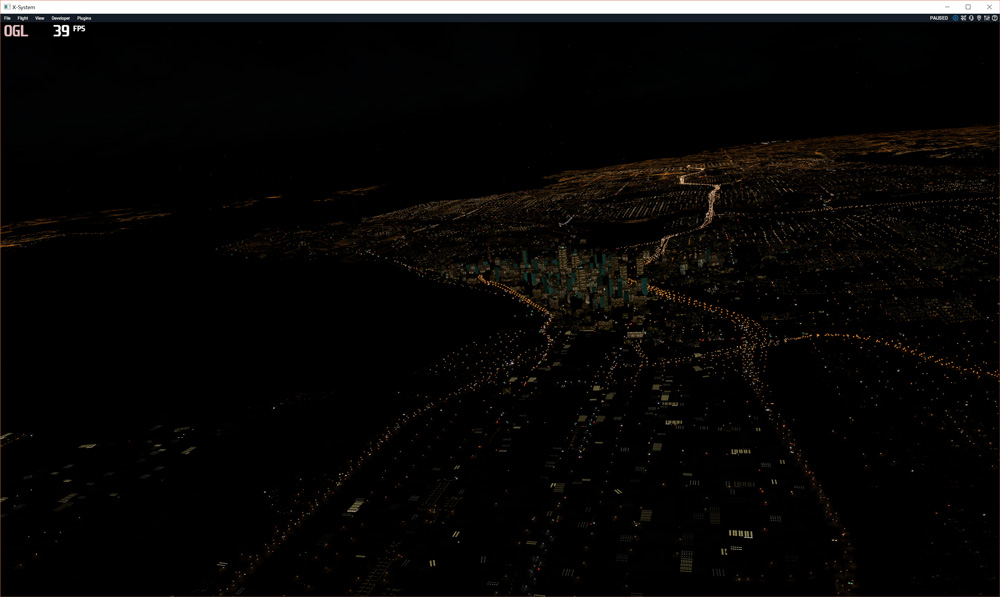
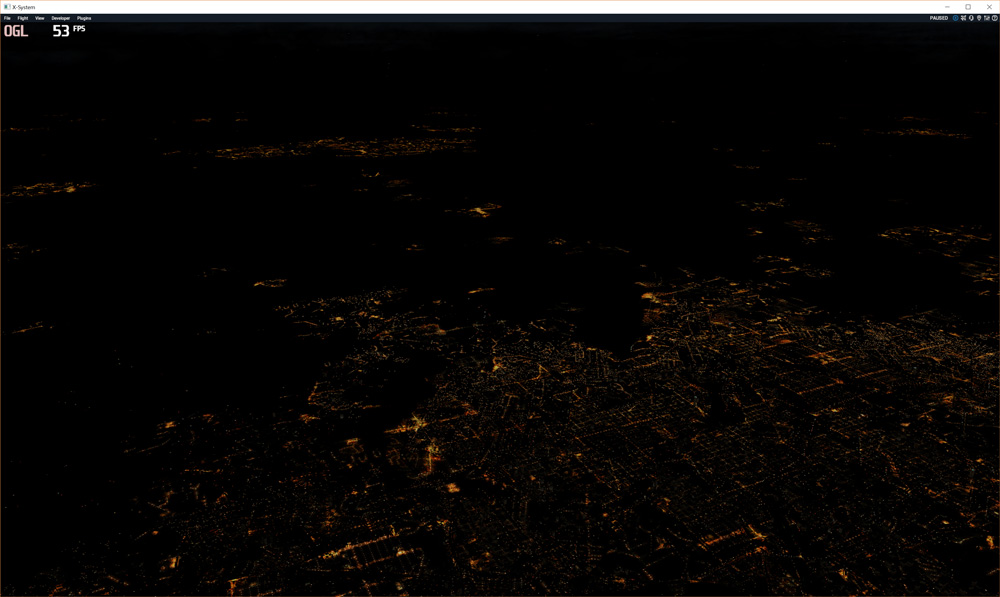
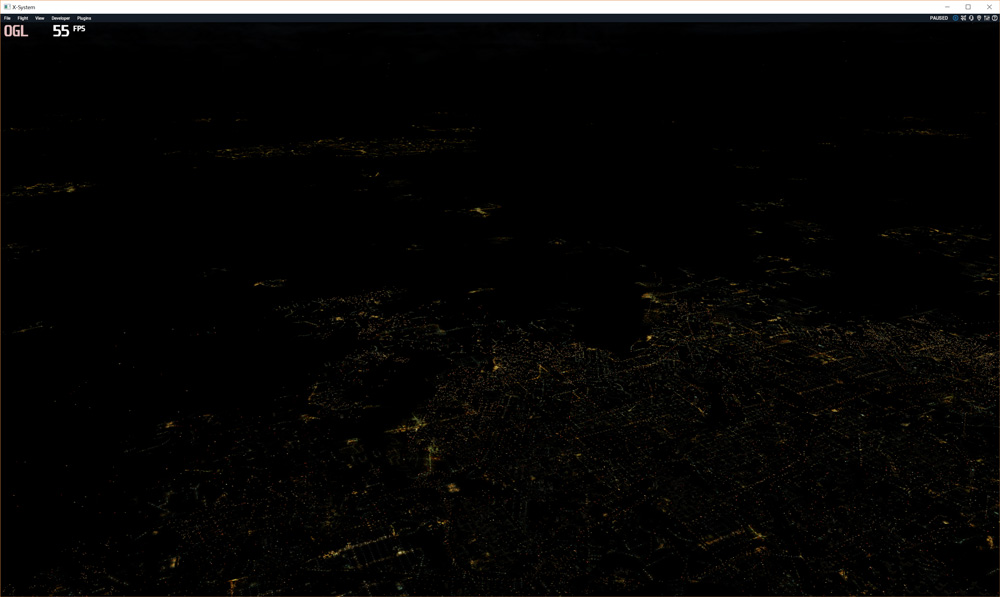
General glow of night textures
Adjusts the luminosity of all emissive textures at night (urban areas backlighting, windows glow etc.). You can change brightness and tint by using RGB multiplier.
This tweak DOES NOT affects X-Plane spot lights.
Parameter(s):
- Brightness boost: Higher value means more light. Range: [0.1 .. 25.0]. Default: 1.0
- Color shade (Red): Higher value means more red in tint. Range: [0.1 .. 2.0]. Default: 1.0
- Color shade (Green): Higher value means more green in tint. Range: [0.1 .. 2.0]. Default: 1.0
- Color shade (Blue): Higher value means more blue in tint. Range: [0.1 .. 2.0]. Default: 1.0
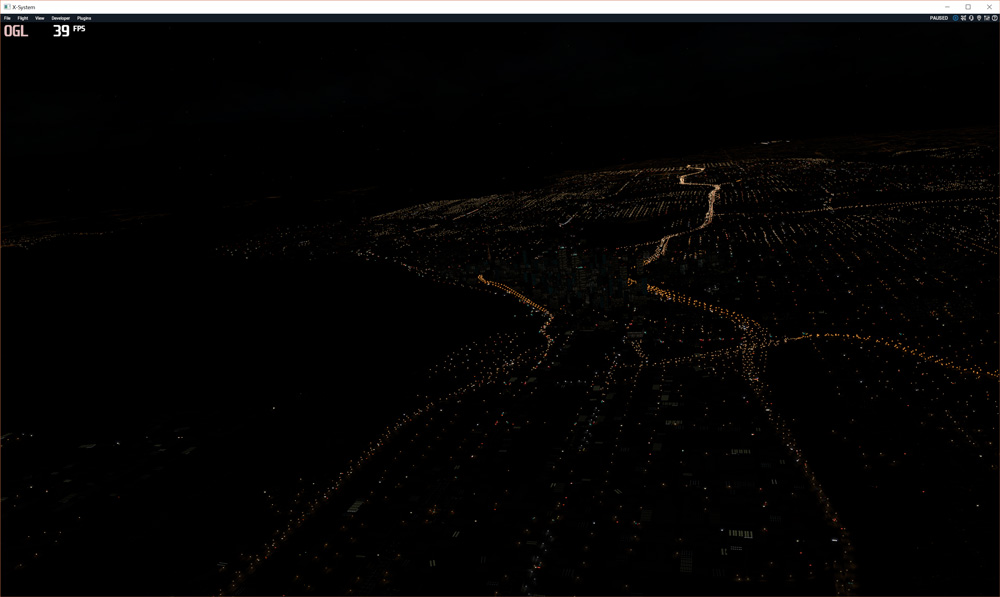
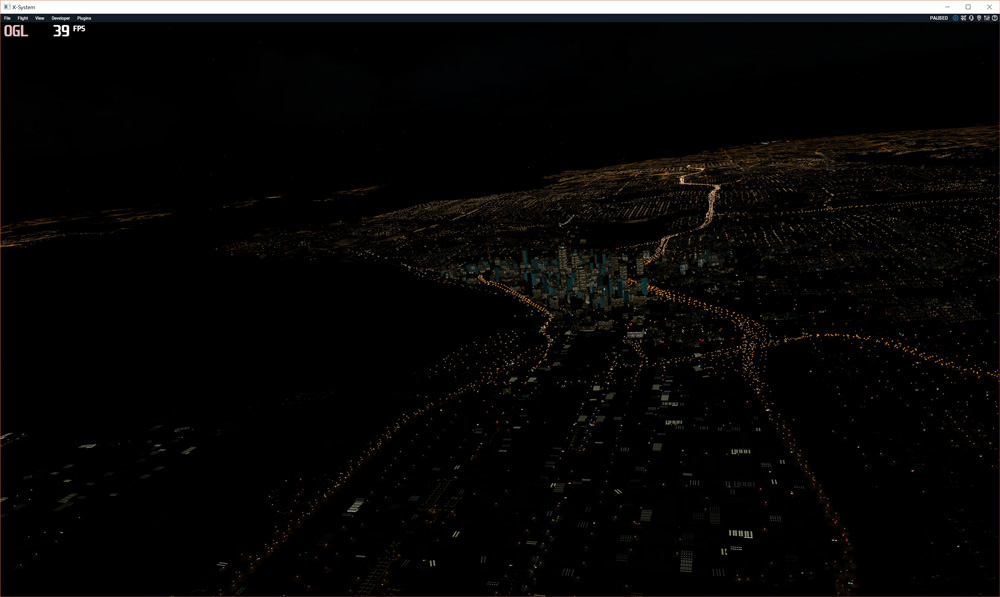
Example 2: Brightness boosted to 10.0, Color shade (Red) = 1.2, Color shade (Green) = 0.9, Color shade (Blue) = 0.6 :
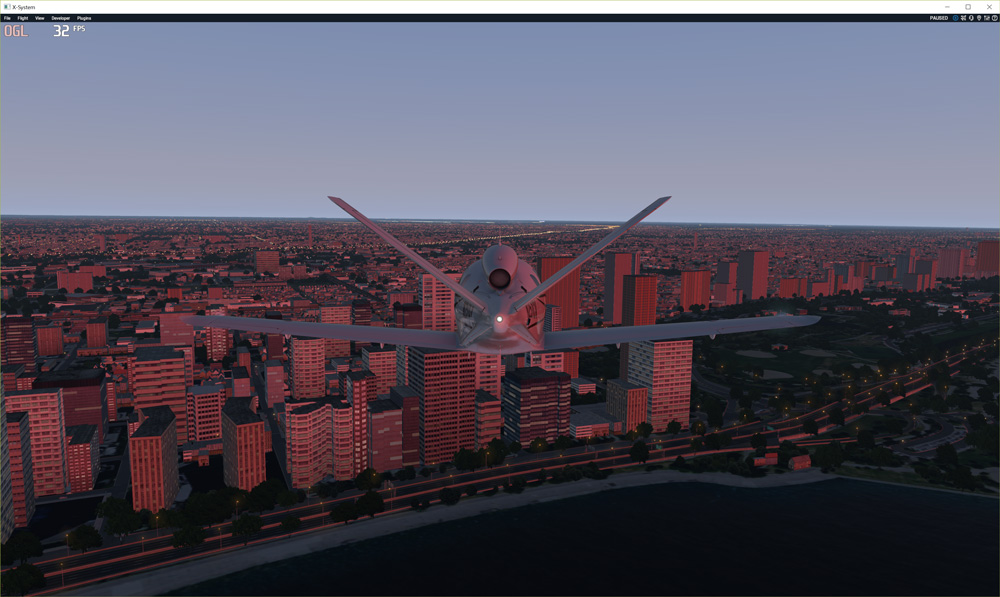
Urban areas backlighting at night
Separate adjustment for the luminosity of urban areas at night. Additionally increases the difference in luminosity of such areas.
You can change brightness and tint by using RGB multiplier.
Keep in mind that brightness decreases as you approach the lit object. Distance attenuation ratio allows to adjust the attenuation ratio.
This tweak DOES NOT affects X-Plane spot lights.
Parameter(s):
- Brightness boost: Higher value means more light. Range: [0.1 .. 25.0]. Default: 7.0
- Distance attenuation ratio: When > 1, the brightness has smaller attenuation Range: [0.1 .. 7.0]. Default: 1.0
- Color shade (Red): Higher value means more red in tint. Range: [0.1 .. 2.0]. Default: 1.0
- Color shade (Green): Higher value means more green in tint. Range: [0.1 .. 2.0]. Default: 1.0
- Color shade (Blue): Higher value means more blue in tint. Range: [0.1 .. 2.0]. Default: 1.0
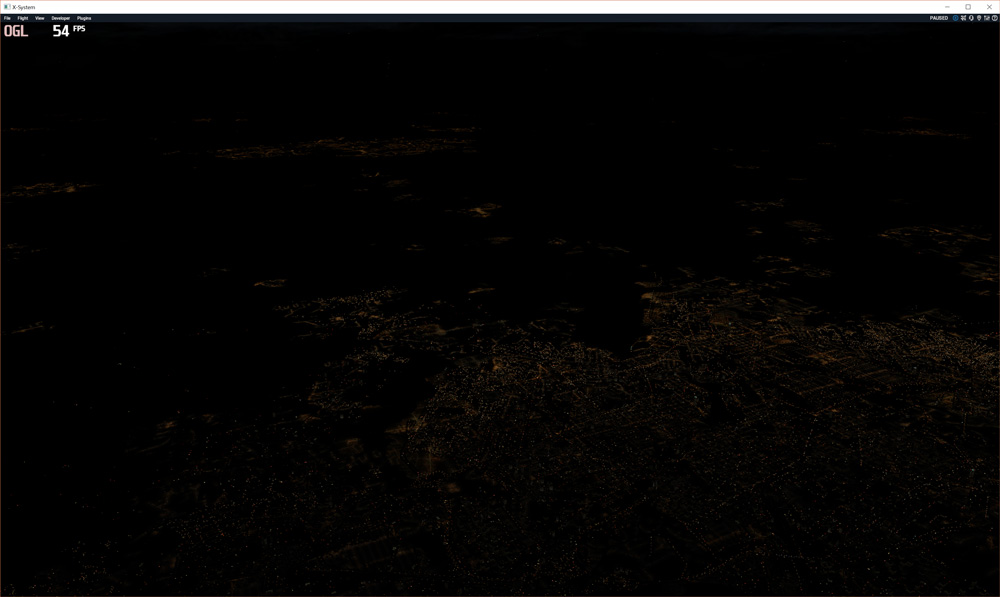
Example 2: Brightness boosted to 4.0, Distance attenuation ratio = 3.0, Color shade (Red) = 0.6, Color shade (Green) = 1.0, Color shade (Blue) = 1.4:
Sun/moon glares smoothing
Makes jagged glares around sun/moon smooth. You can also adjust brightness and size of glare.
This tweak works only in HDR mode.
Parameter(s):
- Brightness/width boost: Lower value decreases the width and brigtness of glare. Range: [0.1 .. 5.0]. Default: 1.5
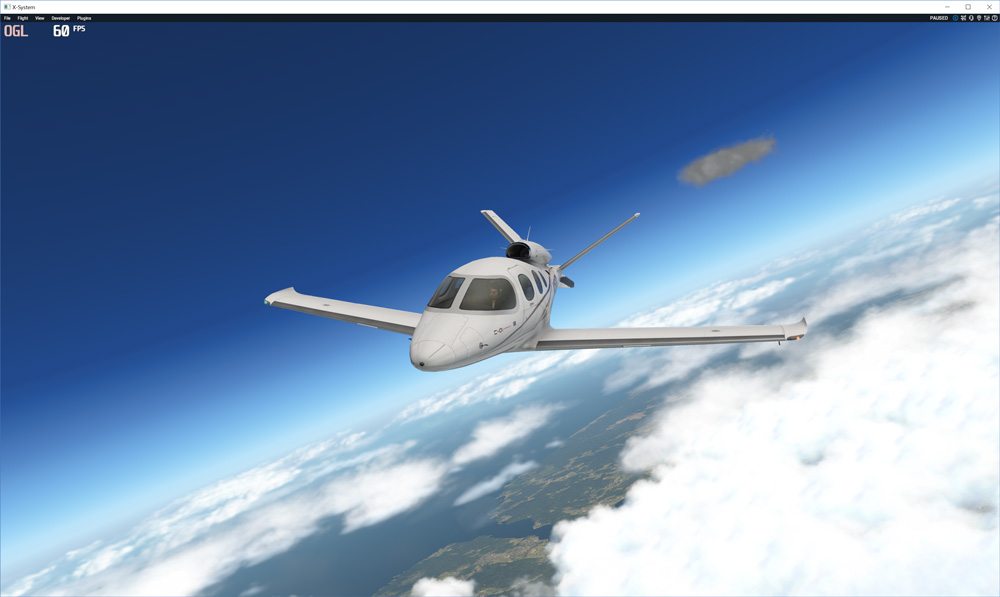
PBR effect adjustment
Allows to make Physically based rendering (PBR) effects more or less pronounced. Applied to the whole scene.
Parameter(s):
- Effect boost: Higher value makes PBR effects more pronounced. Range: [0.2 .. 5.0]. Default: 1.0
CLOUDS TWEAKS
Cloud puffs alpha-smoothing
Performs smoothing of cloud puff edges by making them transparent. Negative radius value can make the whole cloud puff transparent.
Parameter(s):
- Radius: The distance (as a part of the radius) from center of the cloud puffs from which alpha-smoothing will be performed. Range: [-5.0 .. 1.0]. Default: 0.5
Example 2: Radius = -2.5
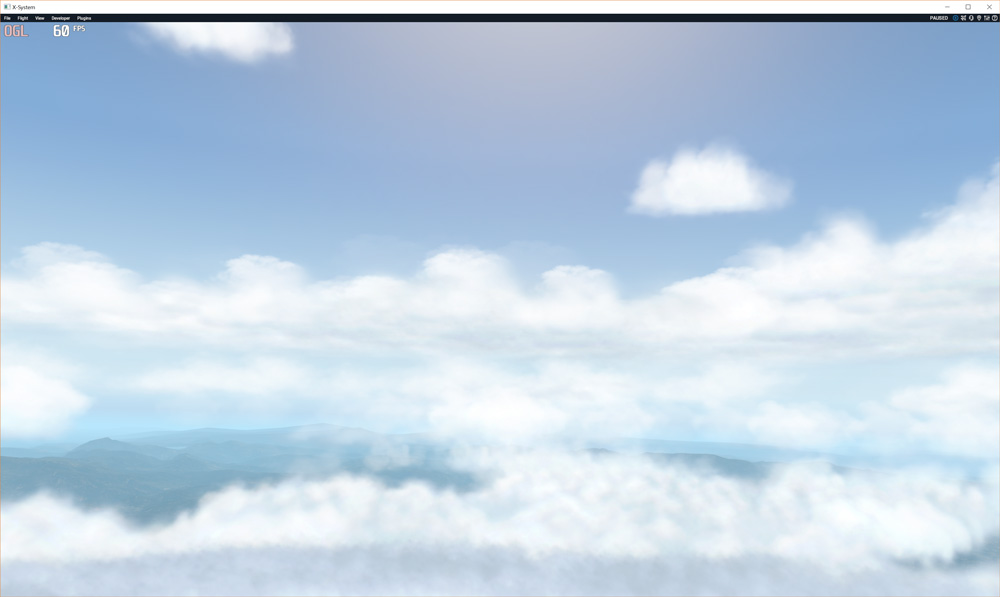
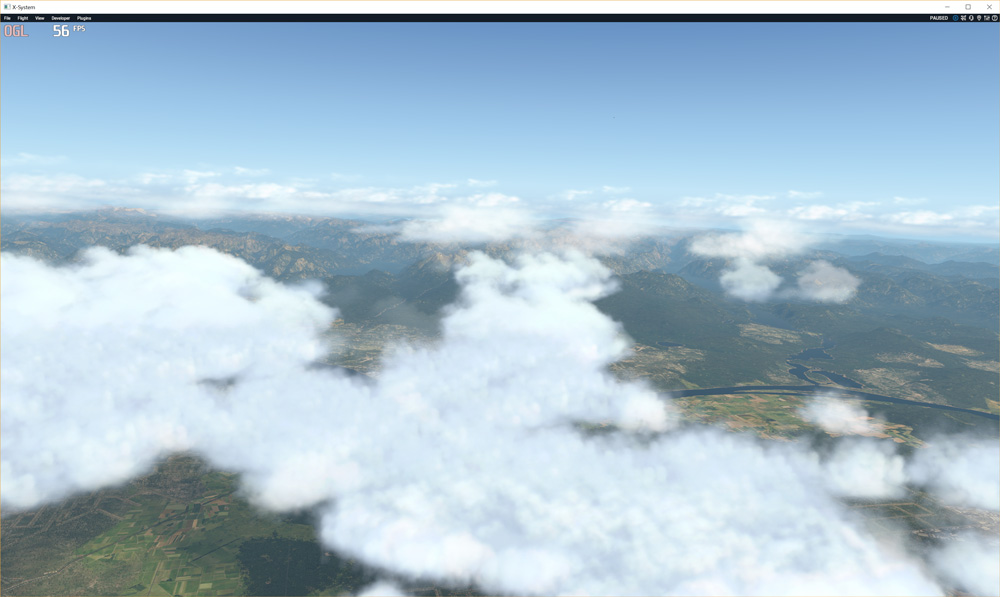
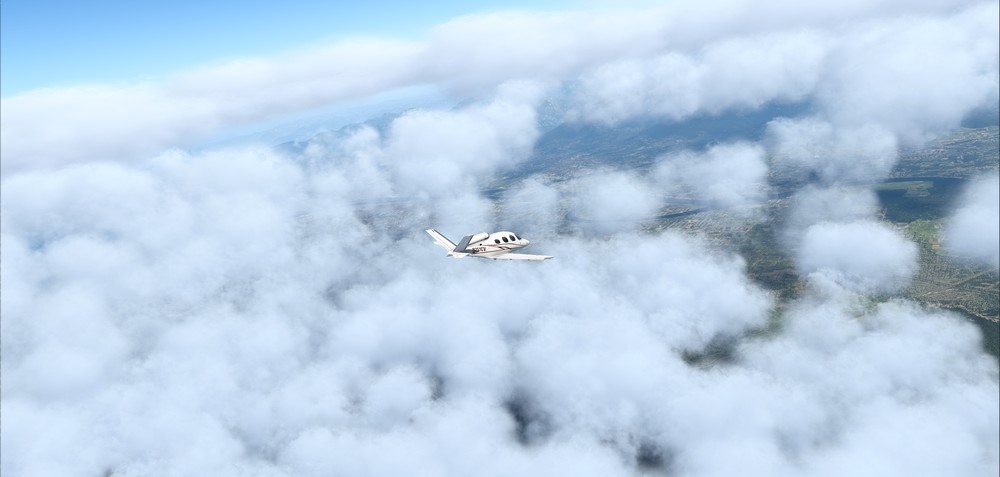
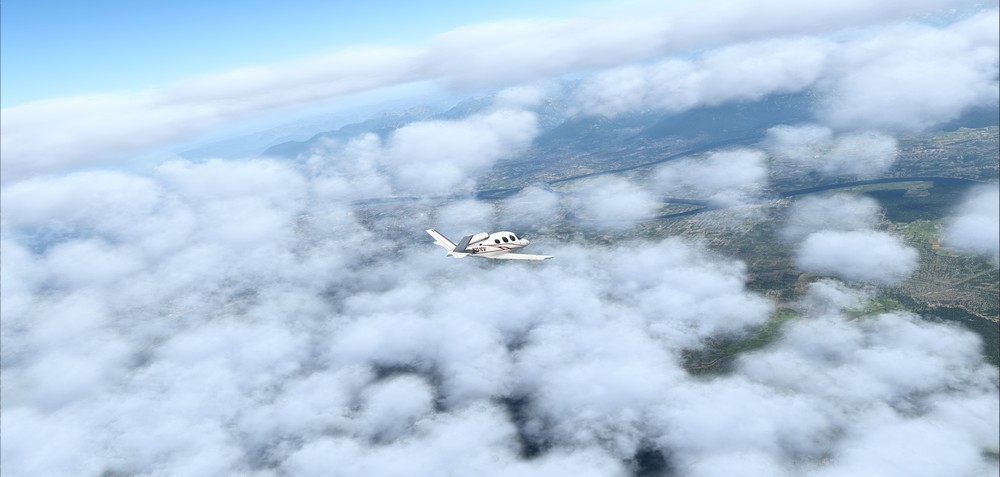
Clouds volumizer
(All illustrations made with default X-Plane 11.0.21 cloud textures.)
Tweak activates alternate clouds rendering with pseudo 3D effect.
Eliminates texture flickering.
Parameter(s):
- Volume: "Volume" power for cloud puffs. Increase the difference between light and dark sides of clouds. Range: [0.0 .. 1.0]. Default: 0.7
- Specular sunlight gain: How much sunlight penetrates through the clouds, forming a bright halo. Range: [1 .. 15]. Default: 5
- Ambient sunlight gain: How much ambient component of sunlight affects clouds. Range: [0.1 .. 5.0]. Default: 1.6
- Diffuse sunlight gain: How much diffuse component of sunlight affects clouds. (Usually diffuse sunlight has warm/red color shade). Range: [0.1 .. 5.0]. Default: 0.5

Example 2 (Evening): Volume = 0.8, Specular sunlight gain = 6.0, Ambient sunlight gain = 1.7, Diffuse sunlight gain = 0.6
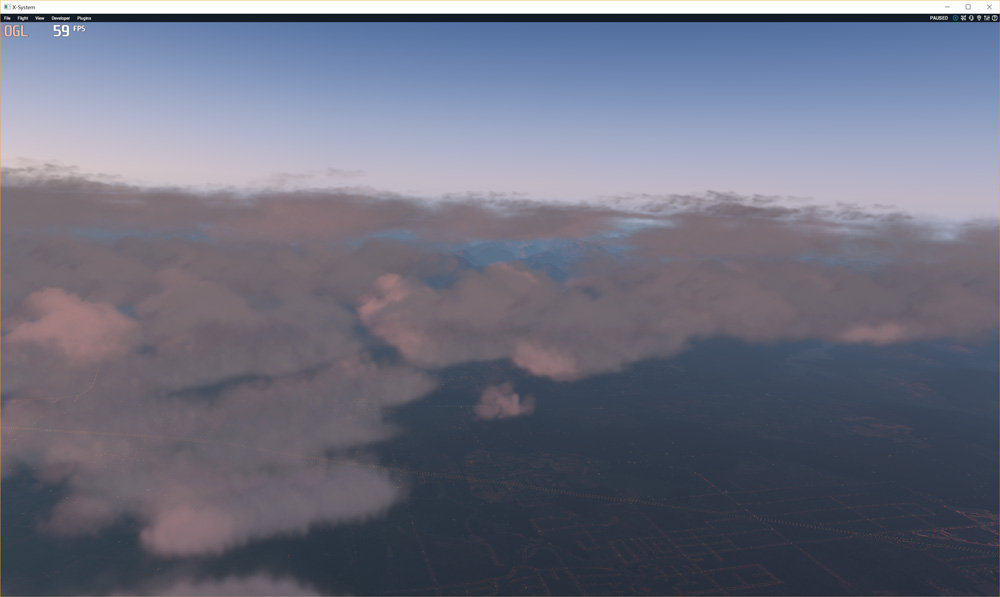
Example 3 (Evening): Volume = 0.8, Specular sunlight gain = 6.0, Ambient sunlight gain = 1.0, Diffuse sunlight gain = 1.3

Example 4: Left side ("Before") - Specular sunlight gain = 6.0, right side ("After") - Specular sunlight gain = 10.0
Clouds brightness, contrast, saturation
Adjusts brightness, contrast and intensity of clouds color.
Parameter(s):
- Brightness: Adjusts brightness. Range: [-1.0 .. 1.0]. Default: 0.0
- Contrast: Adjusts contrast. Range: [0.0 .. 2.0]. Default: 1.0
- Saturation: When the saturation is 0.0, what you will see is a shade of gray. Range: [0.0 .. 2.0]. Default: 1.0
Example 2: Saturation = 1.6

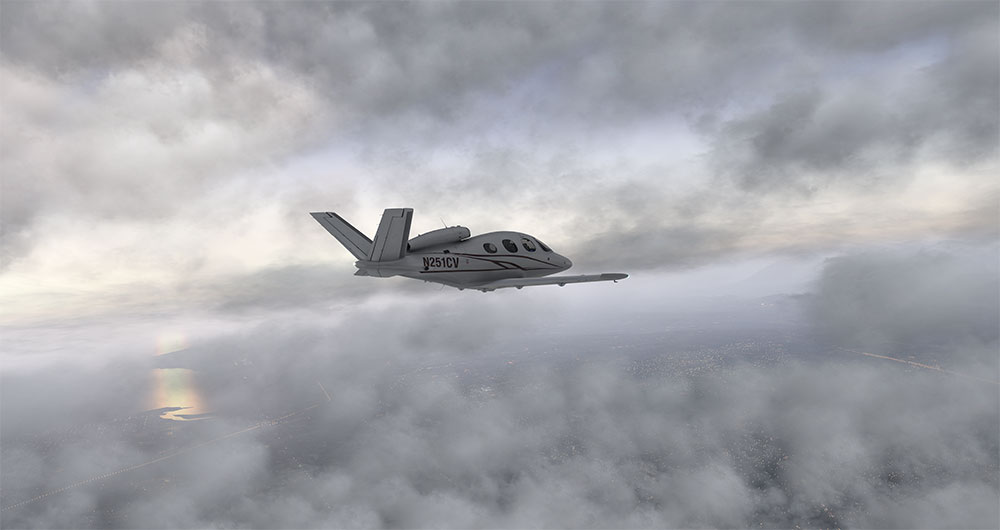
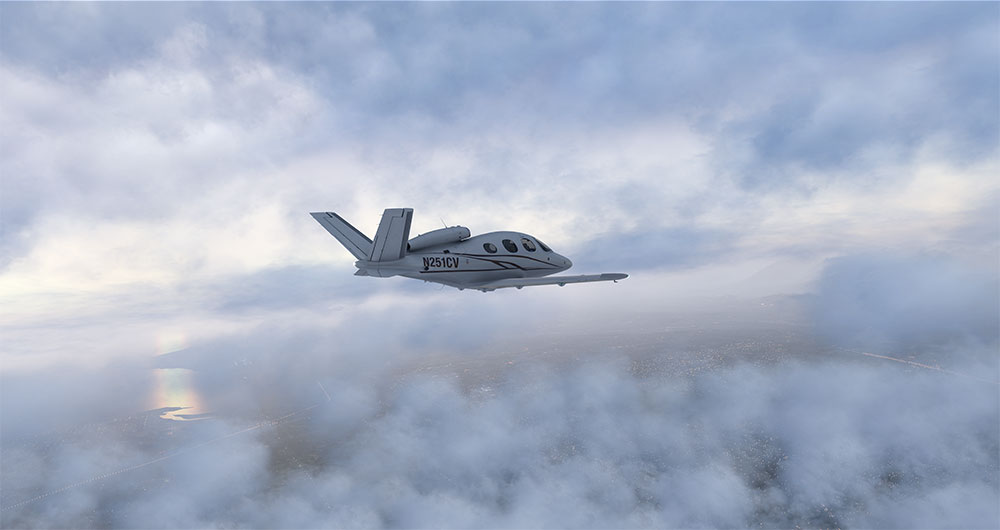
Rayleigh scattering for clouds
Applies Rayleigh scattering effect to clouds. Use this tweak to get natural cloud shading based on atmosphere scattering.
Parameter(s):
- Effect power: Higher power value = strong effect. Keep in mind that effect power depends on lighting conditions/time of the day. Range: [1.0 .. 15.0]. Default: 2.50
- Color tone [Green]: Scattering efficiency of green light component. Range: [0.01 .. 0.99]. Default: 0.15
- Color tone [Blue]: Scattering efficiency of blue light component. Range: [0.01 .. 0.99]. Default: 0.35
Clouds scaling
Scale the width and height of cloud puffs.
Parameter(s):
- Horizontal: Scale the horizontal size. Range: [0.01 .. 1.00]. Default: 1.00
- Vertical: Scale the vertical size. Range: [0.01 .. 1.00]. Default: 1.00
WATER TWEAKS
Sun glitter adjustment
Tweak allows to tune bright, sparkling light formed when sunlight reflects from water waves.
Parameter(s):
- Brightness: Adjusts power of glitter light. Range: [0.1 .. 10.0]. Default: 1.0
- Beam width: Higher value means wider beam. Range: [0.1 .. 10.0]. Default: 1.0
MISCELLANEOUS TWEAKS
Contrail fix (X-Plane 11.21-11.26 only)
Allows to change whiteness of contrail and smoke from the tires.
Parameter(s):
- Brightness: Whiteness boost. Range: [0.1 .. 5.0]. Default: 2.5
Raindrops rendering
Allows to change opacity and track length of the raindrops.
You can set the opacity values separately for night and day. The transition between night and daytime values is smooth and based on sunlight luminance.
Parameter(s):
- Day opacity coefficient: Opacity of the raindrops at daytime Range: [0.01 .. 1.00]. Default: 1.0
- Night opacity coefficient: Opacity of the raindrops at night Range: [0.01 .. 1.00]. Default: 1.0
- Raindrops tracks length: Length of raindrops tracks Range: [0.1 .. 5.0]. Default: 1.0
Example 2: Night opacity coefficient = 0.1 and Raindrops tracks length = 0.3
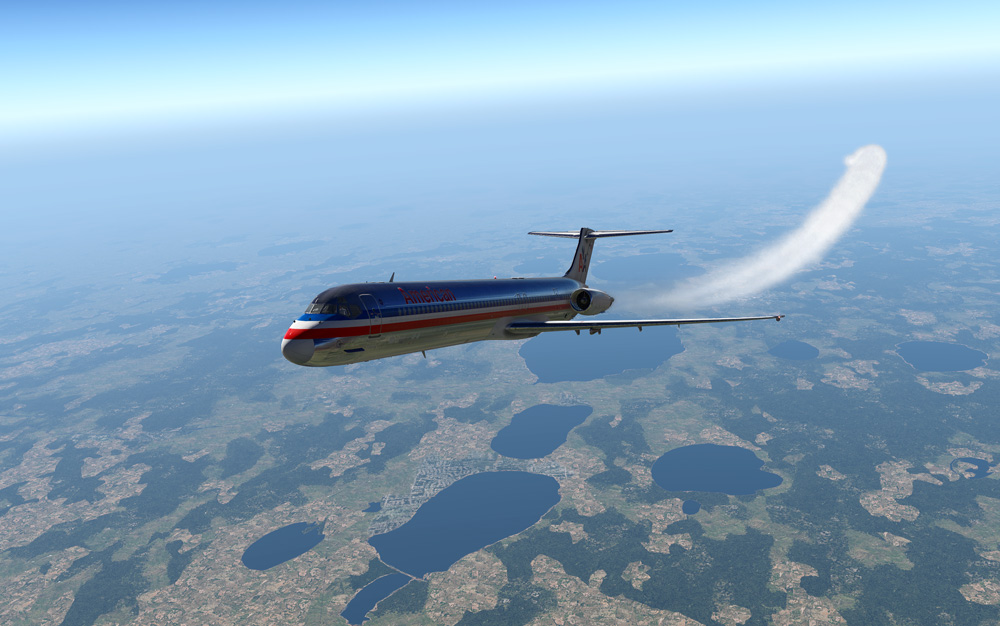
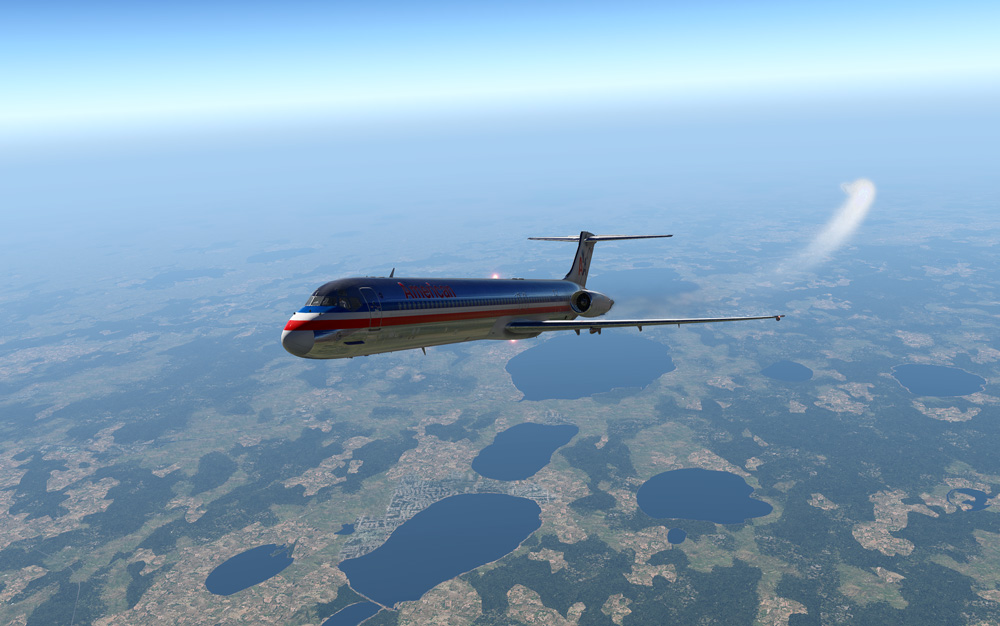
Contrail adjustment
Allows to change whiteness and opacity of contrail.
Parameter(s):
- Brightness: Whiteness boost. Range: [0.1 .. 5.0]. Default: 1.0
- Opacity: Opacity level. Range: [0.0 .. 1.0]. Default: 1.0
POST-PROCESSING TWEAKS
Global stage post-processing
To add some post-processing effects at X-Plane global rendering stage activate the corresponding shaders in list below.
Activated effects will apply to whole scene in the sim.
This tweak works only in HDR mode.
IMPORTANT: To use post-processing, you SHOULD use antialiasing settings with activated FXAA mode (i.e. FXAA, 2x SSAA+FXAA, 4x SSAA+FXAA, etc.).
However, if you don't need FXAA, just use "FXAA is always off" switch.
To use post-processing, just check the appropriate effect in list and set the parameters specific to the shader.
The order of effects activation could be important and depends on the set. You can change the order with Up, Down buttons.
After applying the shader tweaks, the selected post-processing effects will be installed to X-Plane).
Use "Restore defaults" button to return to default settings for the selected post-processing effect.
Parameter(s):
- FXAA switch. Default state: ON
Tweak has the following potsprocessing effects:
DPX
DPX (Cineon): should make the image look like it's been converted to DXP Cineon - basically it's another movie-like look similar to technicolor effect.
Parameters:
Red, Green, Blue [1.0 .. 15.0], default 8.0
RedC, GreenC, BlueC [0.20 .. 0.50], default (0.36, 0.36, 0.34)
Contrast [0.0 .. 1.0] - adjusts the contrast of the effect. Default is 0.1.
Saturation [0.0 .. 8.0] - adjust saturation of the effect. 1.0 is neutral. Default 3.0
Colorfullness [0.1 .. 2.5] - Colorfullness of the effect. 1.0 is neutral. Default 2.5
Strength [0.00 .. 1.00] - how strong the effect should be. Default 0.20.

SoftBloom
SoftBloom: Apply bloom effect without clipping bright areas.
Parameters:
Intensity [0.1 .. 1.0]. Bloom magnitude. Default value is 0.2.
Technicolor2
Technicolor2: adjusts different parameters of scene.
Parameters:
ColorStrength(R,G,B) [0.00 .. 1.00]. Default 0.20. Higher means darker and more intense colors (Red, Green, Blue separately).
Brightness [0.5 .. 1.5]. Default 1.0. Higher means brighter image.
Saturation [0.0 .. 1.5]. Default 1.0. Additional saturation control since this effect tends to oversaturate the image.
Strength [0.0 .. 1.0]. Default 1.0. The power of effect.
Sepia
Sepia tones the image.
Parameters:
ColorToneXYZ - what color to tint the image. X=Red, Y=Green, Z=Blue [from 0.00 to 2.55]
GreyPower 1.00 [0.00 - 1.00] - how much desaturate the image before tinting it.
SepiaPower 1.00 [0.00- 1.00] how much to tint the image.
Curves
Curves: uses S-curves to increase contrast, without clipping highlights and shadows.
Parameters:
Curves_mode [0 - 2] - choose what to apply contrast to. 0 = Luma, 1 = Chroma, 2 = both Luma and Chroma. Default is 2
Curves_contrast [-1.00 .. 1.00] - the amount of contrast you want (higher value means more contrast).
Curves_formula [0 - 10] - the contrast s-curve you want to use:
0=Sine, 1=Abs split, 2=Smoothstep, 3=Exp formula, 4=Simplified Catmull-Rom (0,0,1,1), 5=Perlins Smootherstep, 6=Abs add, 7=Techicolor Cinestyle, 8=Parabola, 9=Half-circles. 10=Polynomial split.
Default formula is 4.

Levels
Levels: sets a new black and white point. This increases contrast but causes clipping. (Use Curves instead if you want to avoid that.)
Parameters:
Levels_black_point [0 .. 255] - the black point is the new black. Everything darker than this will become completely black. Default is 16.0
Levels_white_point [0 .. 255] - the new white point. Everything brighter than this becomes completely white. Default is 235.0.
LiftGammaGain
Lift Gamma Gain: adjust brightness and color of shadows, midtones and highlights.
Parameters:
RGB_LiftXYZ [0 .. 2.00] - adjust shadows for Red (X), Green (Y) and Blue (Z).
RGB_GammaXYZ [0 .. 2.00] - adjust midtones for Red (X), Green (Y) and Blue (Z).
RGB_GainXYZ [0 .. 2.00] - adjust highlights for Red (X), Green (Y) and Blue (Z).
Values of 1.00 are a neutral setting that leave the colors unchanged.
Technicolor
Technicolor: attempts to mimic the look of an old movie using the Technicolor three-strip color process
Parameters:
TechniAmount [0.00 .. 1.00]. Default 0.40.
TechniPower [0.00 .. 8.00]. Default 4.00
redNegativeAmount [0.00 .. 1.00]. Default 0.88
greenNegativeAmount [0.00 .. 1.00]. Default 0.88
blueNegativeAmount [0.00 .. 1.00]. Default 0.88
Vibrance
Vibrance: intelligently boosts the saturation of pixels so pixels that had little color get a larger boost than pixels that had a lot. This avoids oversaturation of pixels that were already very saturated.
Parameters:
Vibrance [-1.00 .. 1.00] (default=0.2) saturates (or desaturates if you use negative values) the pixels depending on their original saturation.
Vibrance_RGB_balanceXYZ [-10.00 .. 10.00] - a per channel multiplier to the Vibrance strength so you can give more boost to certain colors over others. X=Red, Y=Green, Z=Blue
Tonemap
Tonemap: adjusts gamma, exposure, saturation, bleach and defog (may cause clipping).
Parameters:
Gamma [0.000 .. 2.000] - adjust midtones. 1.000 is neutral. This setting does exactly the same as the one in Lift Gamma Gain, only with less control. Default 1.000
Exposure [-1.000 .. 1.000] - adjust exposure, default is 0.000
Saturation [-1.000 .. 1.000] - adjust saturation, default is 0.000
Bleach [0.000 .. 1.000] - brightens the shadows and fades the colors, default is 0.000
Defog [0.000 .. 1.000] - how much of the color tint to remove, default is 0.000
FogColorXYZ [0 .. 2.55] - what color to remove - Red (X), Green (Y) and Blue (Z). Default is X=0, Y=0, Z=2.55 (blue to remove).
BrightnessContrastSaturation
Brightness, Contrast, Saturation: adjusts brightness, contrast and intensity of color in an image.
Parameters:
Brightness [-1.0..1.0] default level is 0.0, contrast [0.0..2.0] default level is 1.0
When the saturation is 0.0, what you will see is a shade of gray. 1.0 is default level.
Example 2: Contrast = 1.2:
Example 3: Saturation = 0.6:
SharpenBlurring
SharpenBlurring: slightly sharpen or blurring image.
Parameters:
Strength [-2.0 .. 2.0]. Use negative values to blur or positive for sharpen. Default value is 0.60.
This effect can be FPS hungry on weak hardware.
Internal (VC) stage post-processing
To add some post-processing effects at X-Plane internal view rendering stage activate the corresponding shaders in list below.
Activated effects will apply only to internal views and virtual cockpit.
To use post-processing, just check the appropriate effect in list and set the parameters specific to the shader.
You can also use expressions with some shader variables as parameter values.
The order of effects activation could be important and depends on the set. You can change the order with Up, Down buttons.
Internal stage post-processing effects will be installed to X-Plane and applied before global stage effects.
Use "Restore defaults" button to return to default settings for the selected post-processing effect.
Tweak has the following potsprocessing effects:
Postprocessing effects in VC stage produce the same effect as they applied at whole scene. But applied only to VC. Please see ilustrations of effects above in previsous section.
Technicolor2
Technicolor2: adjusts different parameters of scene.
Parameters:
ColorStrength(R,G,B) [0.00 .. 1.00]. Default 0.20. Higher means darker and more intense colors (Red, Green, Blue separately).
Brightness [0.5 .. 1.5]. Default 1.0. Higher means brighter image.
Saturation [0.0 .. 1.5]. Default 1.0. Additional saturation control since this effect tends to oversaturate the image.
Strength [0.0 .. 1.0]. Default 1.0. The power of effect.
DPX
DPX (Cineon): should make the image look like it's been converted to DXP Cineon - basically it's another movie-like look similar to technicolor effect.
Parameters:
Red, Green, Blue [1.0 .. 15.0], default 8.0
RedC, GreenC, BlueC [0.20 .. 0.50], default (0.36, 0.36, 0.34)
Contrast [0.0 .. 1.0] - adjusts the contrast of the effect. Default is 0.1.
Saturation [0.0 .. 8.0] - adjust saturation of the effect. 1.0 is neutral. Default 3.0
Colorfullness [0.1 .. 2.5] - Colorfullness of the effect. 1.0 is neutral. Default 2.5
Strength [0.00 .. 1.00] - how strong the effect should be. Default 0.20.
Sepia
Sepia tones the image.
Parameters:
ColorToneXYZ - what color to tint the image. X=Red, Y=Green, Z=Blue [from 0.00 to 2.55]
GreyPower 1.00 [0.00 - 1.00] - how much desaturate the image before tinting it.
SepiaPower 1.00 [0.00- 1.00] how much to tint the image.
Levels
Levels: sets a new black and white point. This increases contrast but causes clipping.
Parameters:
Levels_black_point [0 .. 255] - the black point is the new black. Everything darker than this will become completely black. Default is 16.0
Levels_white_point [0 .. 255] - the new white point. Everything brighter than this becomes completely white. Default is 235.0.
LiftGammaGain
Lift Gamma Gain: adjust brightness and color of shadows, midtones and highlights.
Parameters:
RGB_LiftXYZ [0 .. 2.00] - adjust shadows for Red (X), Green (Y) and Blue (Z).
RGB_GammaXYZ [0 .. 2.00] - adjust midtones for Red (X), Green (Y) and Blue (Z).
RGB_GainXYZ [0 .. 2.00] - adjust highlights for Red (X), Green (Y) and Blue (Z).
Values of 1.00 are a neutral setting that leave the colors unchanged.
Technicolor
Technicolor: attempts to mimic the look of an old movie using the Technicolor three-strip color process
Parameters:
TechniAmount [0.00 .. 1.00]. Default 0.40.
TechniPower [0.00 .. 8.00]. Default 4.00
redNegativeAmount [0.00 .. 1.00]. Default 0.88
greenNegativeAmount [0.00 .. 1.00]. Default 0.88
blueNegativeAmount [0.00 .. 1.00]. Default 0.88
Vibrance
Vibrance: intelligently boosts the saturation of pixels so pixels that had little color get a larger boost than pixels that had a lot. This avoids oversaturation of pixels that were already very saturated.
Parameters:
Vibrance [-1.00 .. 1.00] (default=0.2) saturates (or desaturates if you use negative values) the pixels depending on their original saturation.
Vibrance_RGB_balanceXYZ [-10.00 .. 10.00] - a per channel multiplier to the Vibrance strength so you can give more boost to certain colors over others. X=Red, Y=Green, Z=Blue
Tonemap
Tonemap: adjusts gamma, exposure, saturation, bleach and defog (may cause clipping).
Parameters:
Gamma [0.000 .. 2.000] - adjust midtones. 1.000 is neutral. This setting does exactly the same as the one in Lift Gamma Gain, only with less control. Default 1.000
Exposure [-1.000 .. 1.000] - adjust exposure, default is 0.000
Saturation [-1.000 .. 1.000] - adjust saturation, default is 0.000
Bleach [0.000 .. 1.000] - brightens the shadows and fades the colors, default is 0.000
Defog [0.000 .. 1.000] - how much of the color tint to remove, default is 0.000
FogColorXYZ [0 .. 2.55] - what color to remove - Red (X), Green (Y) and Blue (Z). Default is X=0, Y=0, Z=2.55 (blue to remove).
BrightnessContrastSaturation
Brightness, Contrast, Saturation: adjusts brightness, contrast and intensity of color in an image.
Parameters:
Brightness [-1.0..1.0] default level is 0.0, contrast [0.0..2.0] default level is 1.0
When the saturation is 0.0, what you will see is a shade of gray. 1.0 is default level.
FXAA tuning
Tuning special values in FXAA shader. Affects speed and quality of antialiasing. Works only with the active FXAA antialiasing (and not FXXA is always OFF switch in Post-Processing tweak).
Parameter(s):
- Sharpness: Sharpness means the amount of sub-pixel aliasing removal
- Contrast: Contrast threshold means the minimum amount of local contrast required to apply algorithm
- Edge: Edge threshold trims the algorithm from processing darks